Doc McStuffins Birthday Party
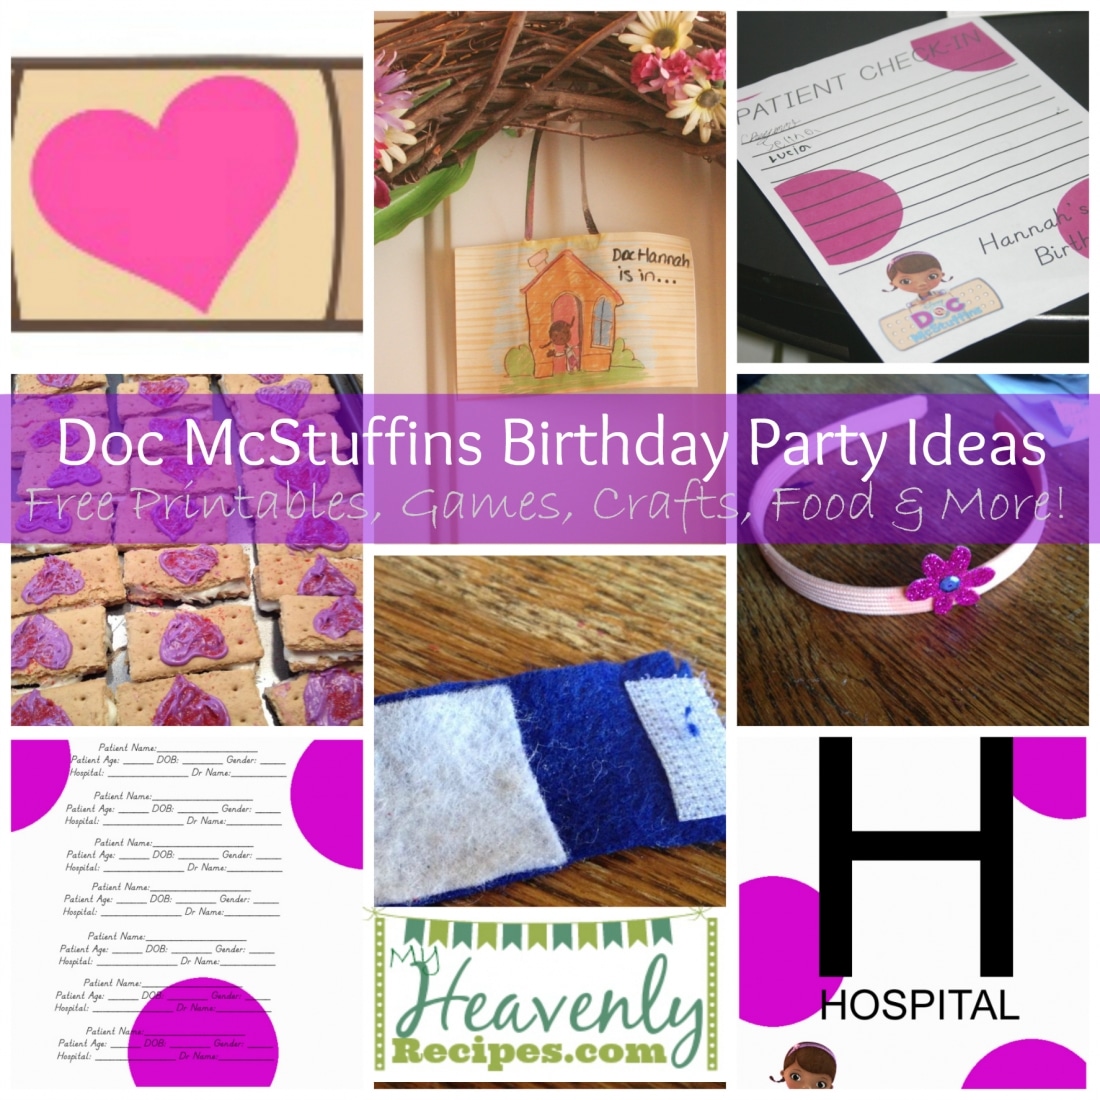
I knew when my daughter’s 6th birthday rolled around (we are getting ready to celebrate her 7th birthday!) we’d likely celebrate it with her doctor friend, Doc McStuffins! So it was no surprise when she asked if she could have a Doc McStuffins Birthday Party because both the birthday girl and her little sister love Doc McStuffings! This tired Momma had to get creative and thought I’d share my ideas with ya’ll!
Let’s get started, cause I know you have tons to do today!
Printables to Download and Print
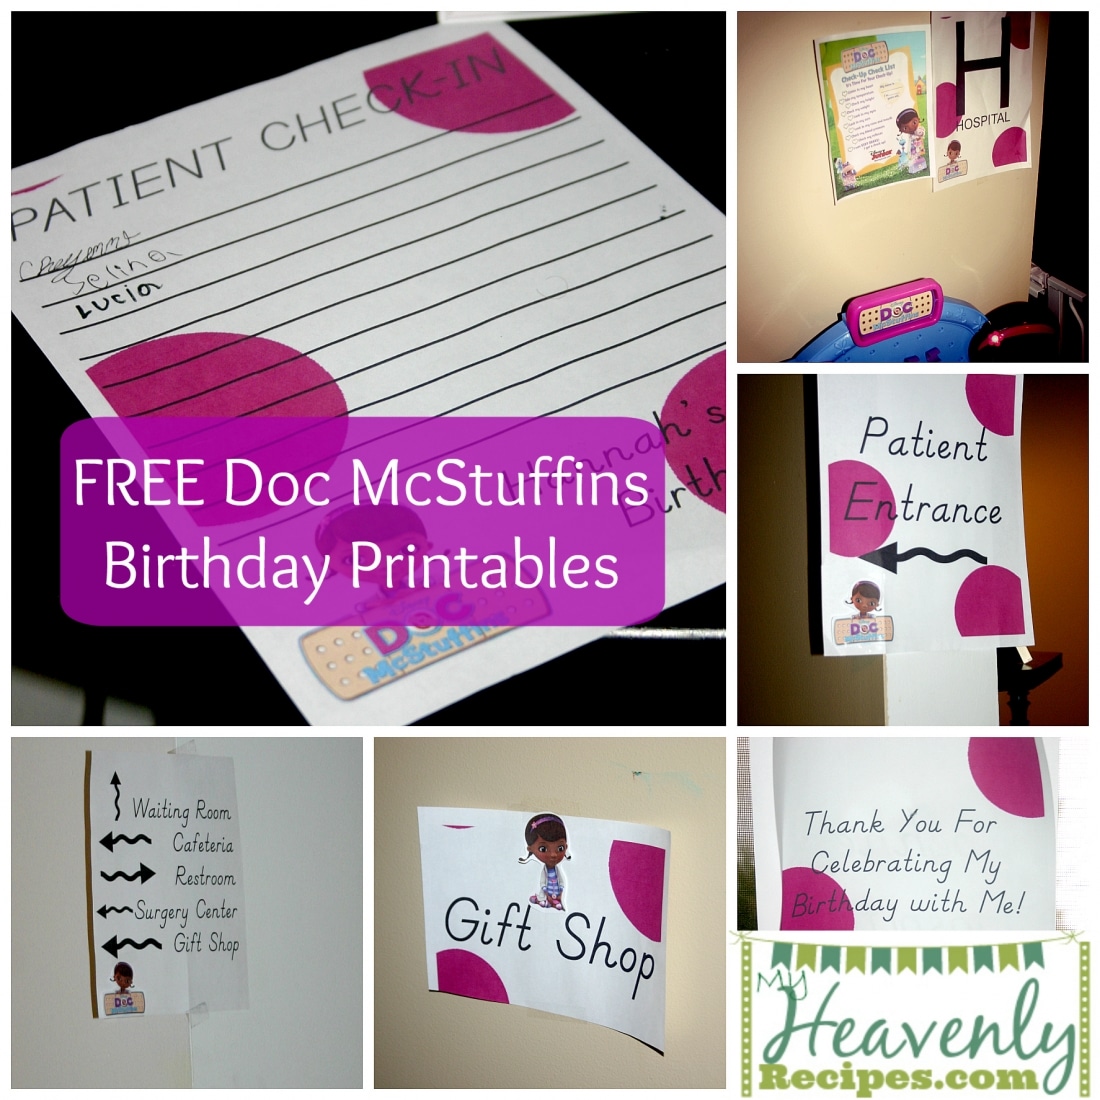
To print the free Doc McStuffins Birthday Printables below click on the blue text. A new window will pop up and you can then select File, Print!
- Patient Check In
- Band Aid – You’ll need to save this and place on the labels you purchase to turn into a sticky paper band aid that you’ll use on your Pin the Lambie Game.
- Hospital Layout – You’ll need to draw your own arrows for your home!
- Cafeteria & Gift Shop Signs
- Patient Entrance
- Patient Bracelet – These were super popular amongst the kids & they wanted to even take some home, so I would print extras!
- Hospital Sign
- Doc Is In Sign – We had this hanging on the front door with a wreath for added decoration!
- Cupcake Toppers – I used on the cupcakes and throughout the home!
Party Favor
Decorations
When I decorate for a party I try to focus on the “themed colors” and not the characters themselves. By doing this I’m able to reuse the decorations for future parties!
Pink Polka Dot Banner
Purple Polka Dot Banner
Doc McStuffins Banner
CRAFTS
The Doc McStuffins Crafts were the big hit of the party, bigger than being able to take home the nurse scrubs as their party favor. So when each child was ready to start the craft portion of the birthday party they went ahead and put on a nursing scrub. This was to protect their clothing and to make them feel more like Doc McStuffins!
Here’s what crafts the kiddos made…
Band-Aids
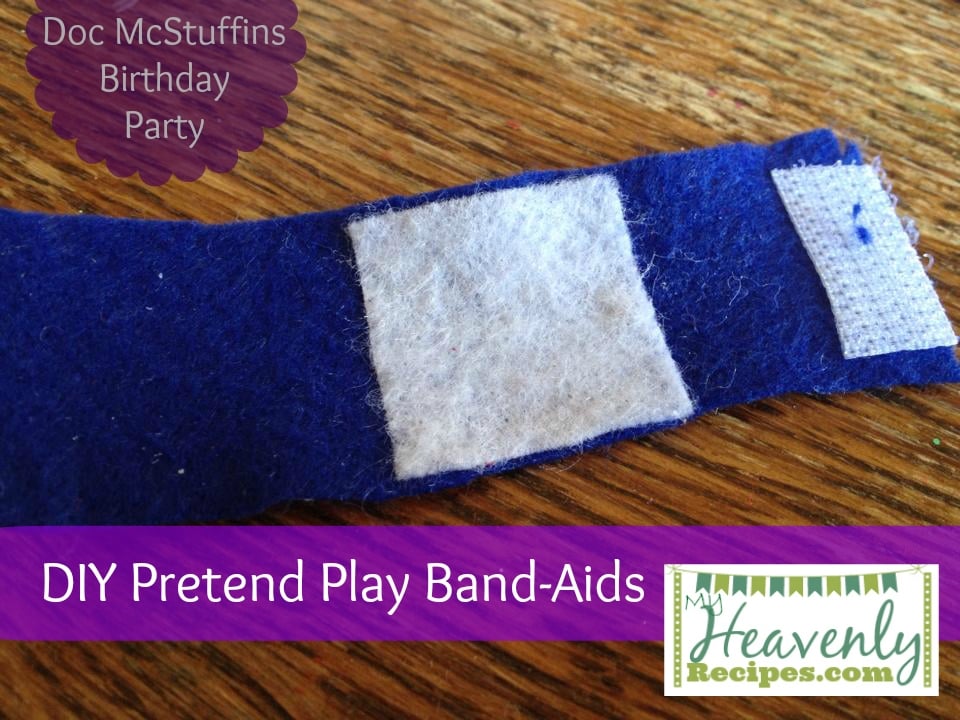
I never thought I would end up with so many felt crafts, but, once the plethora of felt arrive from Amazon.com {can I just say how much I love ordering online? Since I’ve had the baby that’s all I do. Now if only grocery shopping could be done this way….} I knew I had to put it all to good use. I mean you can only do so much with 25 sheets of felt and that involved creating a felt board for both of the girls for when we travel! I also saved a few bucks by stopping by my local JoAnn Fabrics and bought the sticky velcro which I paid less than $3 for with a 40% off coupon!
Supplies
- Colored & White Felt
- Scissors
- Glue
- Sticky Back Velcro
Directions
This craft is really pretty simple.
1. Cut the colored pieces of the felt about ½” wide and 1 ½”-2” long.
2. Cut a square of white felt that’s ½” x ½”. The white felt acts like the padding on the bandaid.
3. Place a few drops of glue on the white felt and stick to the middle of the colored piece of felt.
4. Cut about ¼” of the Sticky Velcro and adhere to the underneath of the colored fabric on both ends, making sure they attach securely when they are placed together.
5. Your band aid is now ready for play!
You’ll want to repeat this process for as many band aids as you’d like to make. If you can sew you could make these really well, but, I didn’t have time for all that!
You can also make ace wraps and such for the kiddos to play with as well as band aids for their dollies, stuffed animals and everything in between. It is really lots of fun!!!!
Stethascope
{I suck, I don’t have a picture of this one for some reason….I’ve searched for hours! So invision a headband, with a string tied to it with a black circle stuffed with tissue paper attached to the other end of the string!}
I saw this Printable Doc McStuffins Stethascope and was originally going to use them, but, once the felt arrived I decided to get a little crafty! If you have the time these are super cute. The Stethoscope was a huge hit at the party! These are fairly simply to make.
Supplies
- Gray or Black Felt
- Tissue Paper
- Black Thread and Needle
- Ribbon or String
- Headband
1. Using a black or gray piece of felt cut out two 2” wide circles.
2. If you can sew, sew the two pieces together. If not, you can use a fabric glue all away around the outside. Leave a small gap so you can insert tissue paper.
3. Insert a small amount of tissue paper in between the two pieces and finishing sewing the stethscope up.
4. Using your string or ribbon attach to the back of the black circle you’ve just sewn.
5. Tie the other end of your string around the middle of the headband.
6. Using two 2” long and ½” wide white piece of felt, wrap around the ends of the headband. This is creating the ear pieces.
Tada you now have a usable play stethoscope and you didn’t have to buy a doctors kit! The boys especially liked making this craft!
Book of Boo Boos
{Again, I suck with the pictures! So this is literally a notebook with a heart cut out of felt and glued down. Pretty simple, right?!?}
What kid doesn’t like to color, write or draw? The Book of Boo Boos can serve as a doctors notebook or just a super cute journal! This one is SUPER easy and I like that 😉
Supplies
1. Cut a heart out of the red felt.
2. Adhere to the front of the notebook with glue.
Yup, it’s that simple!
Doc McStuffins Headband
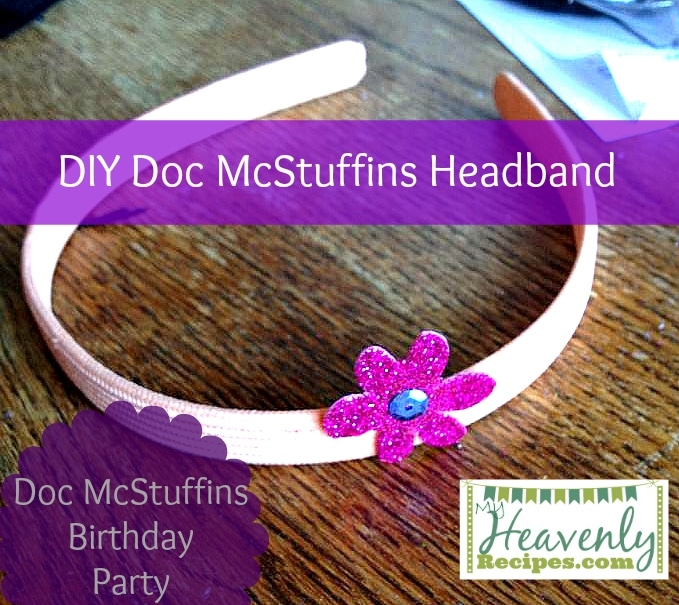
{Holla at ya girl who has a picture of this one!}
Wanna be the coolest Momma on the block? Have the kiddos make these Doc McStuffins Headband. It’s super quick and I guarantee you that they’ll be worn at all times!
Supplies
- Fabric Headbands
- Pen
- Glitter Foam
- Fabric Glue
-
On the back of the glitter foam (the non-glittery side!) draw a flower with a pen.
-
Cut out the flower.
-
Using the Fabric Glue place a small dot of glue on the back of your glittery flower and attach to the headband. Depending on the glue you are using you may need to hold the glittery flowery in place for a few minutes until the glue begins to dry.
If you’d rather buy pre-made flowers I ended up finding these Glitter Flowers on Amazon after our party. This would make this craft a lot easier. I would just be a little hesitant with the sticky back it getting caught in the child’s hair.
Birthday Party Fun
Pin The Band Aid on Lambie Game
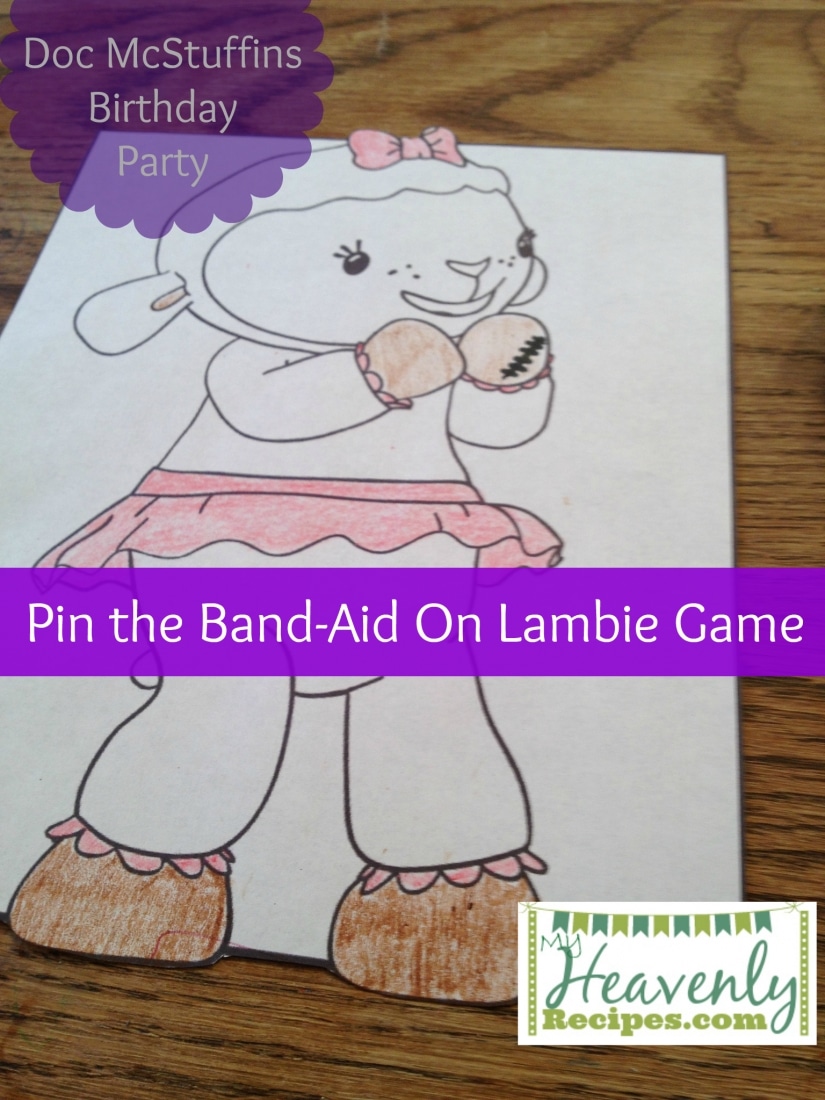
If you must have a game for your Doc McStuffins Birthday Party Pin the Band Aid on Lambie game is what you’ll need. Simply print out this Lambie Printable from DisneyMe.com. Then simply draw a boo boo that the kiddos will have to find blind folded.
I made these super cute printable band-aid stickers that we used for this game.
Patient Bracelet
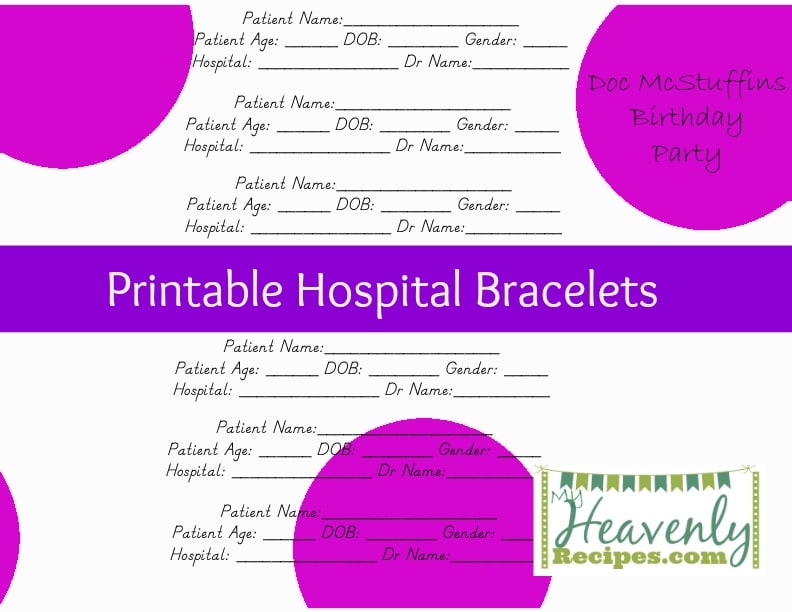
These Patient Bracelets were probably the biggest hit amongst all of our patients! All of our “patients” filled out a Patient Bracelet upon Signing In. I simply attached them using a small piece of Scotch tape.
Animal Check Up
I found lots of useful printable from Disney Jr. I especially loved this Check Up Printable and so did the kids. You can simply print one and display by the “Hospital” or you can leave a stack of these so each child can check off their Check Up list!
We happened to set up the Animal Hospital with our Doc McStuffins Get Better Checkup Play Center. This was a birthday gift that doubled as Doc Mcstuffins Birthday Party fun!
We all have bags full of stuff animals. If you have some that you would like to re-home place the stuffed animals out and let each guest take one home as a party favor! {See what I just did there?!?}
Coloring Books
We created a coloring area on the playroom table for the little kids who couldn’t do the other fun crafts. I stuck crayons on the table and let the little kids go to town with Coloring Books I created by simply printing pages from the Disney website! I stapled them together to create a fun Coloring Book.
The Coloring Books that were left over were sent home with the big kids with a small packet of crayons so they could have a little fun later at home!
Birthday Party Foods
The food at the Birthday Party is completely open for creativity. I opted for a mid afternoon party and therefore didn’t need to serve a lunch or dinner. With as many guests as we had I think I would’ve gone broke!
There’s lots of cute ideas on Pinterest for Doc McStuffins Birthday Party foods so be sure to check it out. I wanted to keep things finger friendly and simple. So while I did apple cups, vegetables and dip I also wanted to add in a couple of fun things for the kiddos to grab and eat.
Pretzel Thermometers

{Again, because I suck with the pictures this is all I could find. I promise to do better!}
Again, with keeping simple in mind I simply grabbed a bag of pretzel rods, white chocolate morsels and red food coloring.
Using a double boiler I melted down a entire 12 oz. Bag of Nestle White Chocolate Morsels. The chocolate was pretty thick so I shaved in about a ⅛” cup of paraffin wax to liquify the chocolate a bit. Plus, it gave the chocolate a nice shine.
Once the morsels and paraffin wax were melted I took 4 cup and mixed it with the red food coloring in a small bowl. I then put the red chocolate into a Pampered Chef cookie decorator bottle with a writing tip.
Next, I dunked ¾ of the pretzel rod into the white chocolate. I then laid it down on wax paper to dry and made about 24 of these.
After the white chocolate hardened I was able to use the decorator bottle and drew a red line from top to bottom of the white chocolate and then added white lines horizontally along the vertical red line creating a thermometer look.
Graham Cracker Band Aids
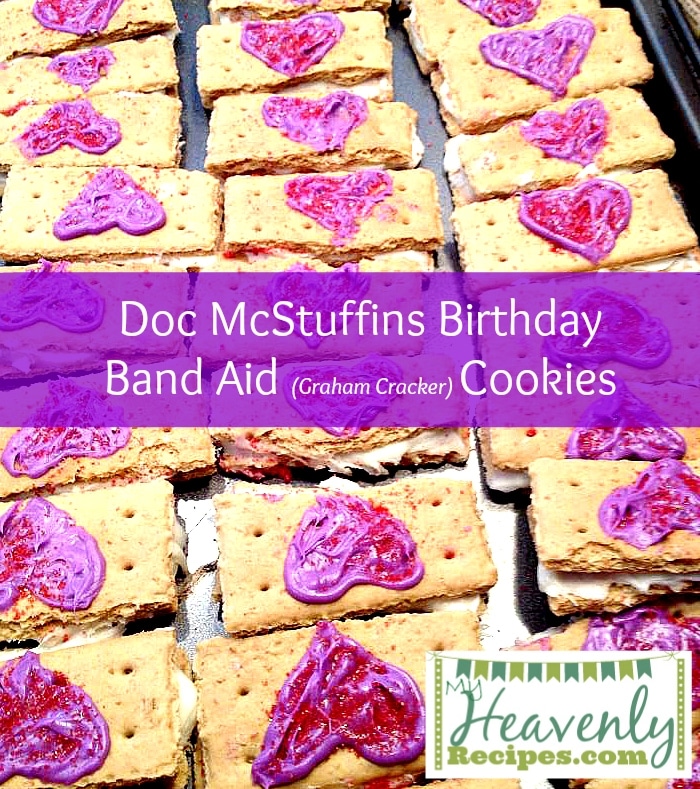
My youngest daughter enjoyed helping Mommy make these Graham Cracker Band Aids and they were all gone by the time the party was over, so I said they were a success!
Along the perforated line in the graham cracker cut or break it in half. Place white icing on top of one half of the graham cracker and then place the other half on top.
Mix ½” white icing with purple food coloring and insert into your decorating bag or bottle. Draw a small heart on top of the graham cracker and fill in with the purple food coloring. Using red sprinkles sprinkle on top of the purple heart.
Enjoy!
I can’t wait to see how your Doc McStuffins Birthday Party turns out! Be sure to pin this to Pinterest and PLEASE come back and let me know how it went! You can always share with me on Facebook, Twitter and Instagram.

