How to Make Homemade Air Dry Clay
How to Make Air Dry Clay
Here’s a homemade air dry clay recipe to use for any occasion! Think about Christmas ornaments, Easter eggs to hang on trees, handprint keepsakes, etc. I actually made a ring dish using my son’s hand mold.
This post may contain affiliate links. Please read our Disclosure Policy.
It’s such a simple recipe that the ingredients are probably in your pantry already!
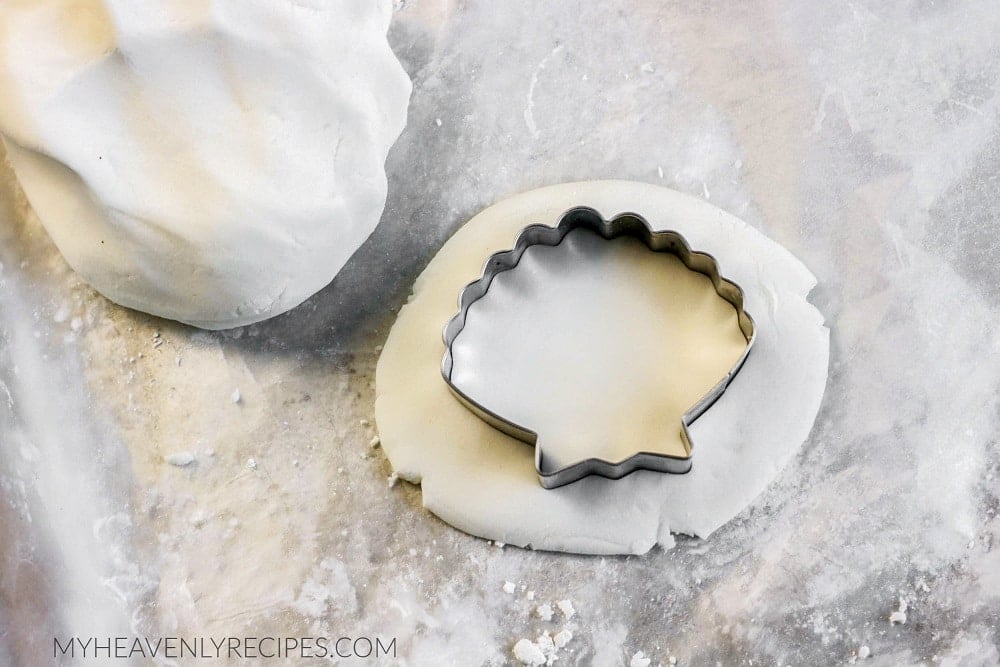
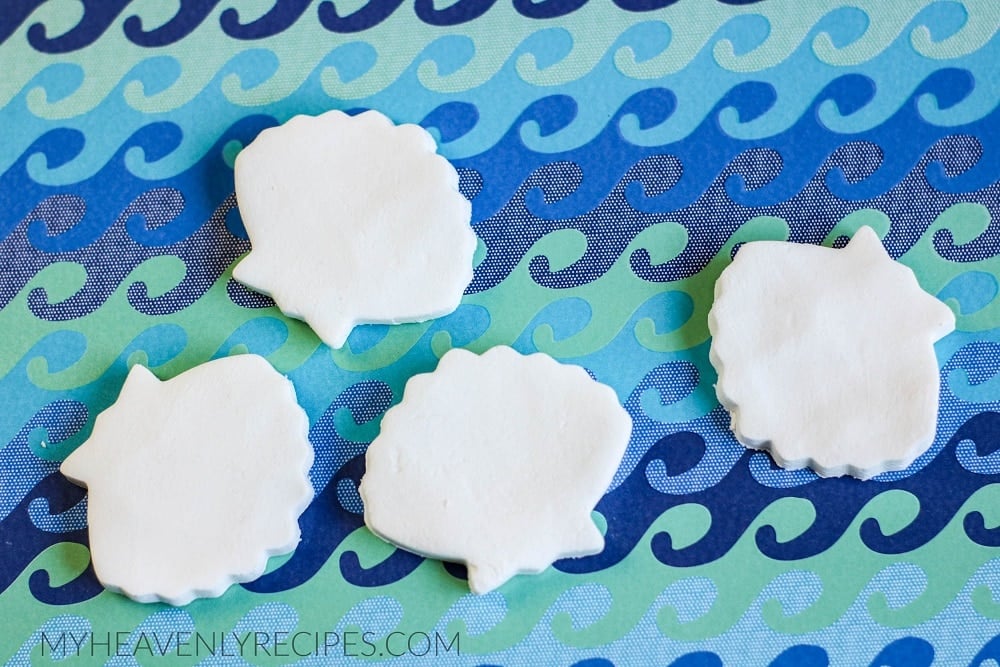
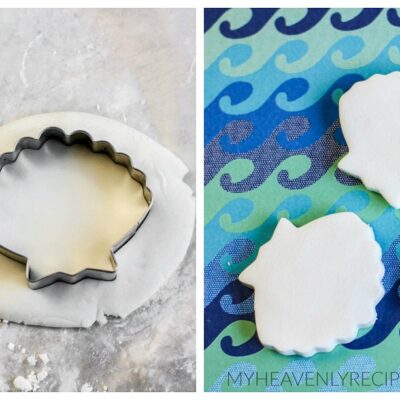
Get out all your cookie cutters for the kids to have some fun! You could also practice shapes, letters, etc. for younger kiddos.
Homemade Air Dry Clay Recipe
Ingredients
- 2 cups baking soda
- 1 cup cornstarch plus more for kneading
- 1 ½ cups water
Instructions
- In a small pot, mix together the baking soda and cornstarch. Stir in the water until completely blended.
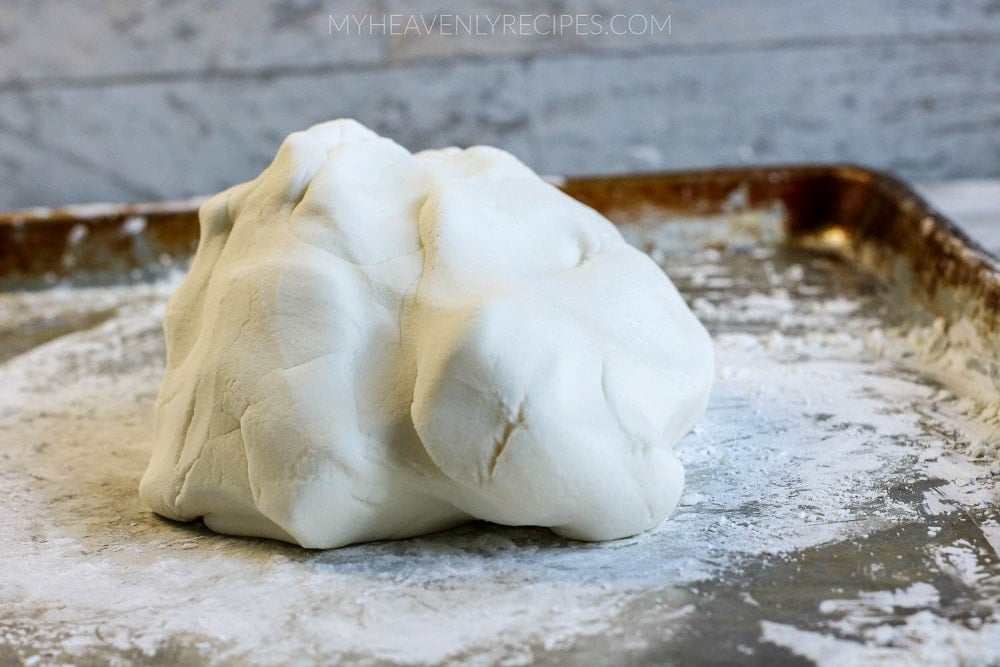
- Place pot over medium heat and cook, stirring constantly for 10 to 15 minutes until the clay begins to form. Remove from heat and continue stirring until the mixture becomes a sticky but soft dough.
- Allow the dough to cool to the touch.
- Place dough on a surface coated with additional cornstarch. Begin kneading the clay adding more cornstarch as needed until the clay becomes smooth and the tacky feeling is gone.
- To store, wrap tightly in plastic wrap and place in an airtight container.
- To dry, place shapes on a drying rack. If needed, flip shapes over after one side has dried. Depending on the thickness of the object, the clay may take up to 3 days to dry completely.