Upcycle a Cardboard Box into Storage
The next time you are going to head out and purchase storage containers stop and think of how you can upcycle a cardboard box into storage around your home! Your project will end up looking cooler than any plastic storage bin!
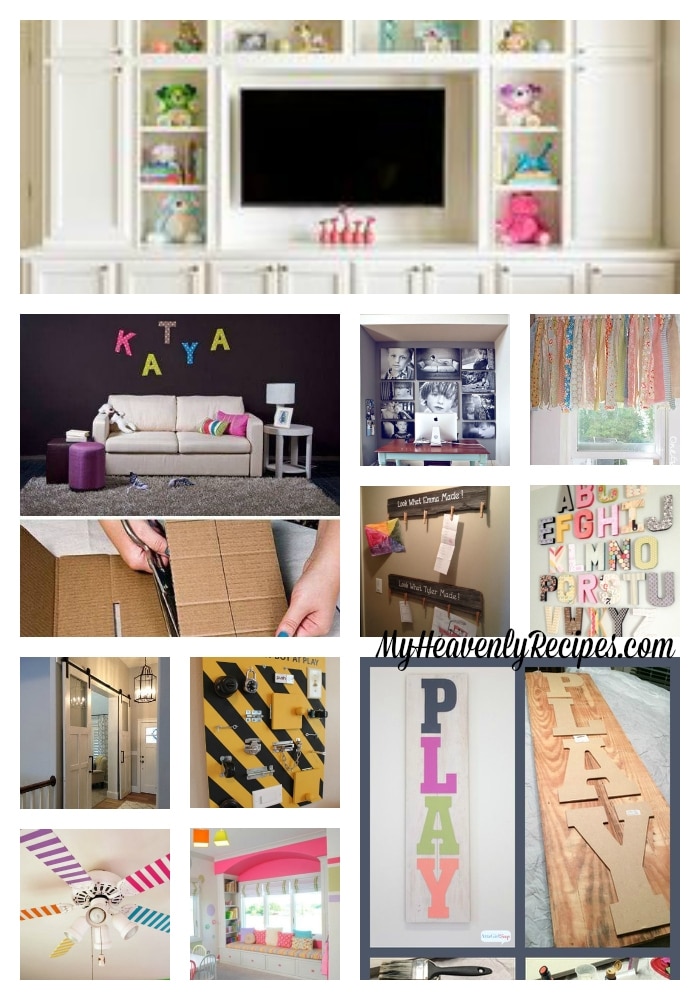
So this Playroom Makeover has taken over my life for the past few months. If you follow me on Instagram, Facebook and Twitter ya know what I’m talking about!
{Sorry if I bored you to tears!}
I FINALLY picked a wall color for the main wall and got it painted in just two hours. Now keep in mind I’ve been in a cast the entire time and have children at home so I will chalk that one up as a W for Mom! While I’m twiddling my thumbs waiting for my handyman to come over to sand and stain the floors to match the dining room I decided to get started on a few projects that I have in my head! For this Upcycled Cardboard Box Storage system I had this idea of using a leftover box, decoupage paper and decoupage. I have to say it came together better than expected! I’m actually pretty pleased with myself as I’m NO DIY expert 🙂 I can’t wait for the playroom to get finished so that I can FINALLY get my dining room back. It’s been taken over as the “craft room” and often times a MESS from the children creating memories…
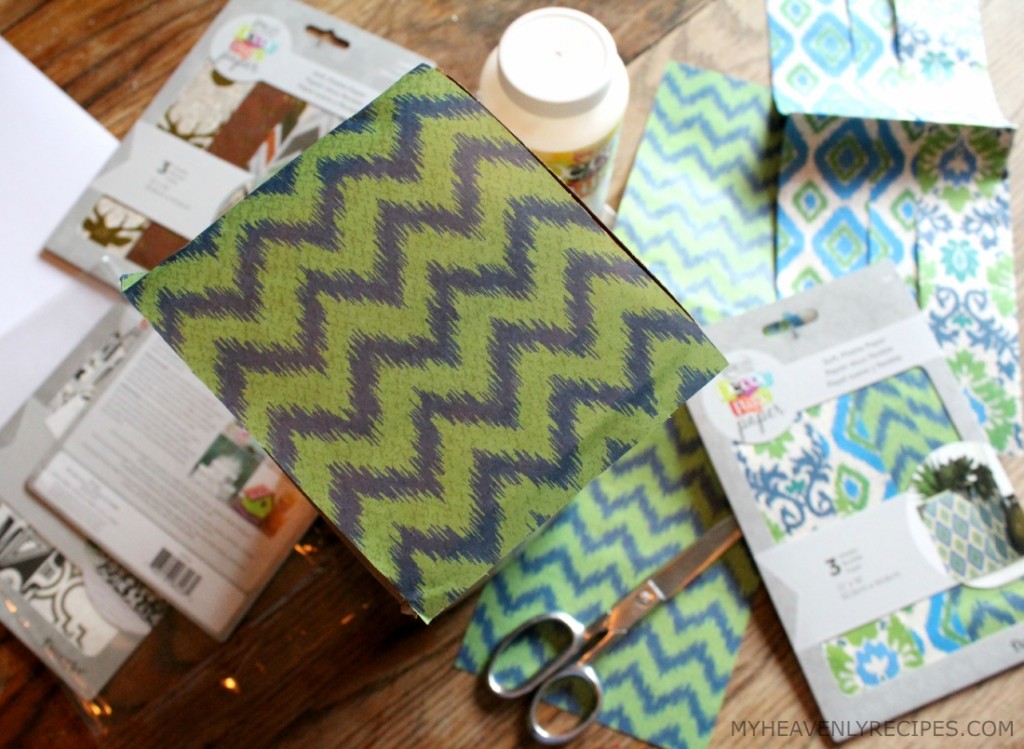
SUPPLIES
- Americana Decou Page Papers
- Decou Pauge Gloss
- Scissors
- Cardboard Box
- Brush to apply decou page
The directions are pretty simple really. So simple my 4 year old helped me with this one!
First figure out what two papers you would like to coordinate together.
Next, measure and cut paper to fit on all sides (4 pieces in total). I made each side about ¼″ bigger and folded over on all sides. I ended up doing the chevron type pattern on the smaller sides and the tribal like pattern on the longer sides.
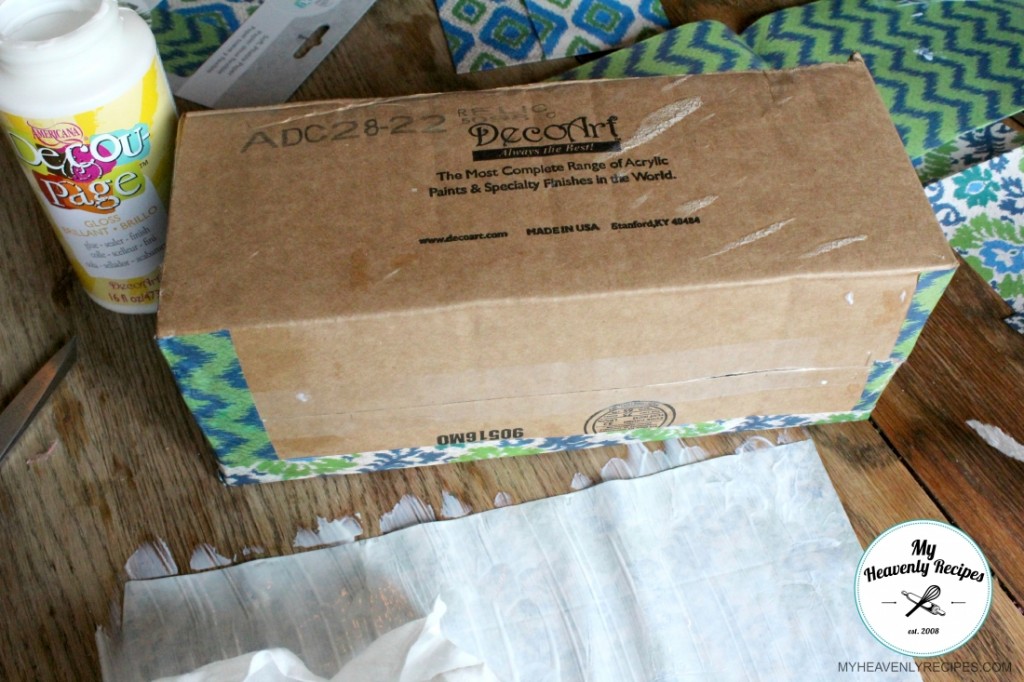
Place your paper upside down on a flat surface. Using a brush apply a THIN even layer of DecouPage. Your paper become a little soft at this point so be careful or it will tear easily.
Apply each piece to the cardboard. Using a large popsicle stick or credit {very carefully} smooth out the paper on all sides.
To make the dividers cut out the same size as the side of the box (the width side) out of extra cardboard. I then applied the decoupage paper to both sides of two pieces and inserted into the box. It was a tight fit, but, that’s what I wanted so that it would hold up the supplies!
Next using a brush apply a thin coat to the entire box. I ended up trimming the top of the box with some ribbon that I had laying around to make it look like a finished piece. I just attached it directly to the last layer of decoupage.
Since I took these pictures I also wrapped a toilet paper roll in some of the scrap paper and it now holds the pencils upright! {I’ll grab you a picture once it’s up in the playroom!}
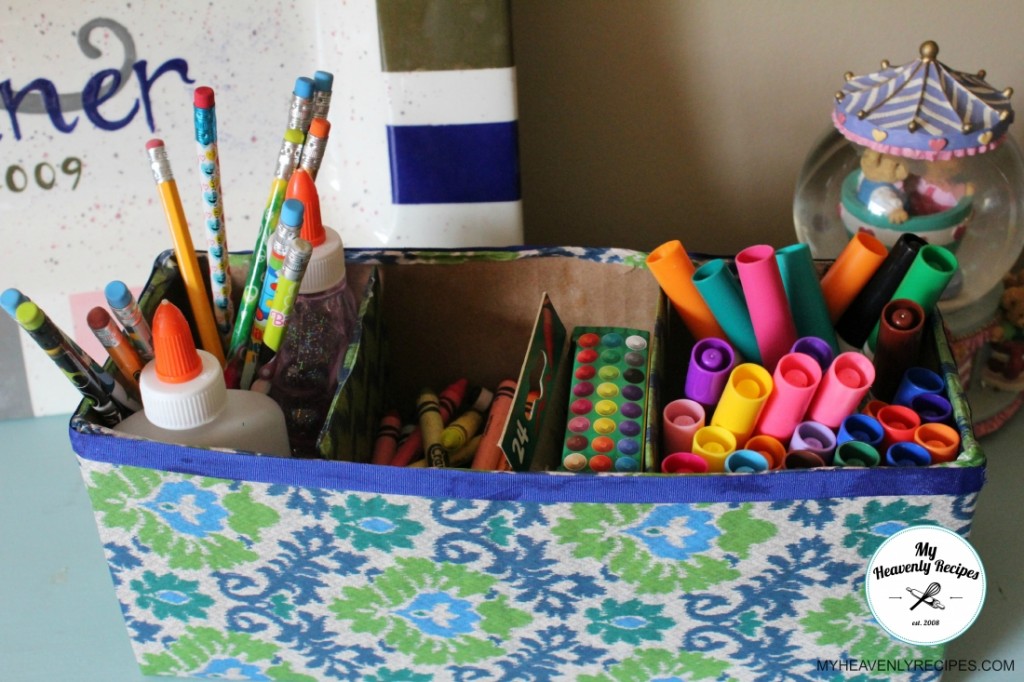
Now if you are one who pays close attention to detail you can totally paint the inside of the box with paint prior to applying your paper. I may end up doing that with the color of the wall paint…
I am so pleased with how this storage box has turned out! Now I get to have my drawer back. Want to see what it looked like before I made this?!?
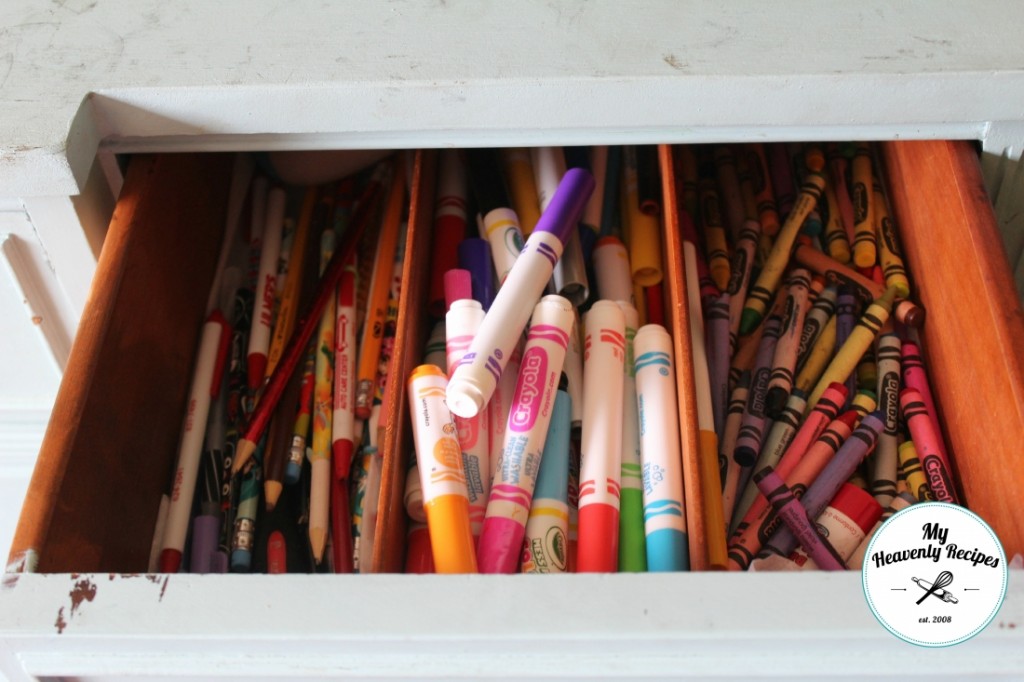
I would say this storage box is a much better solution and I can have my buffet back for all my photography and food styling supplies like it was intended for when I bought it!
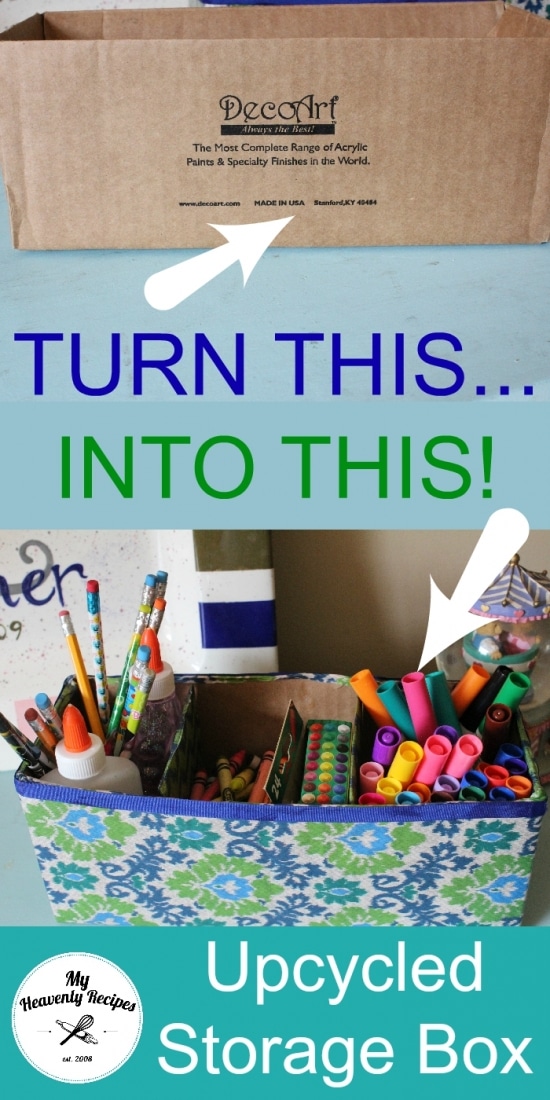
* I am a DecoArt Blogger. I was sent product for free in exchange to share my projects!
I love to see what you are creating in your kitchens! Be sure to share the recipes you found on MyHeavenlyRecipes.com with me on Facebook, Twitter, Pinterest and Instagram.
