Decoupage Play Room Table
Decoupage Play Room Table
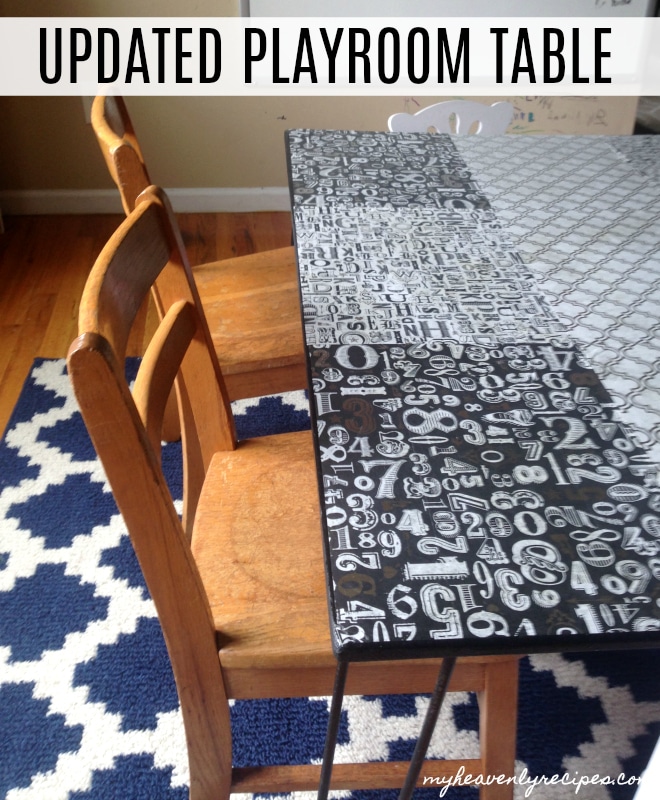
I had such a fun time creating this Decoupage Play Room Table. The kids LOVE it!
A friend of mine down the street is an AMAZING talent of refinishing furniture. She can look at a piece and in an instant turn into something simply stunning. You should check out her website ThePaintedCrowe.com to see what I’m talking about…isn’t her website cute? I designed it for her! {Hey Shannon, hey!}. And if you live in Cincinnati and want a piece update she’s your girl!
Anyhow she decided to “have me over” to clean out her garage. And when I say clean out her garage, she really just loaded the back of my truck up with random items that were in her garage. She had big plans for each and every single one of them! As she was loading me up, I was thinking what the hell am I going to do with all this? But, I was thrilled to have some new stuff to use in our Playroom, especially this HUGE table and solid wood chairs!
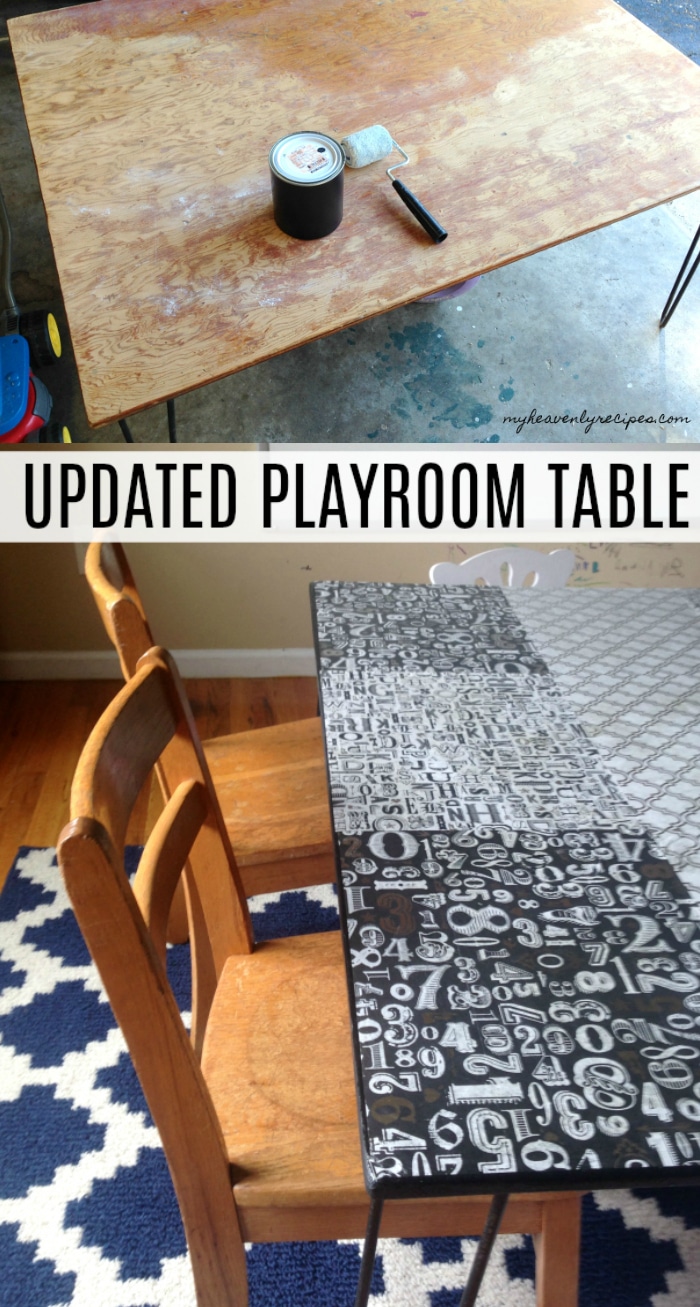
Now it looked rather lifeless honestly. I mean we can all put together a table like this. All it was was a piece of plywood with some metal legs screwed to the bottom of it. Pretty easy right? When I saw the table I saw this…
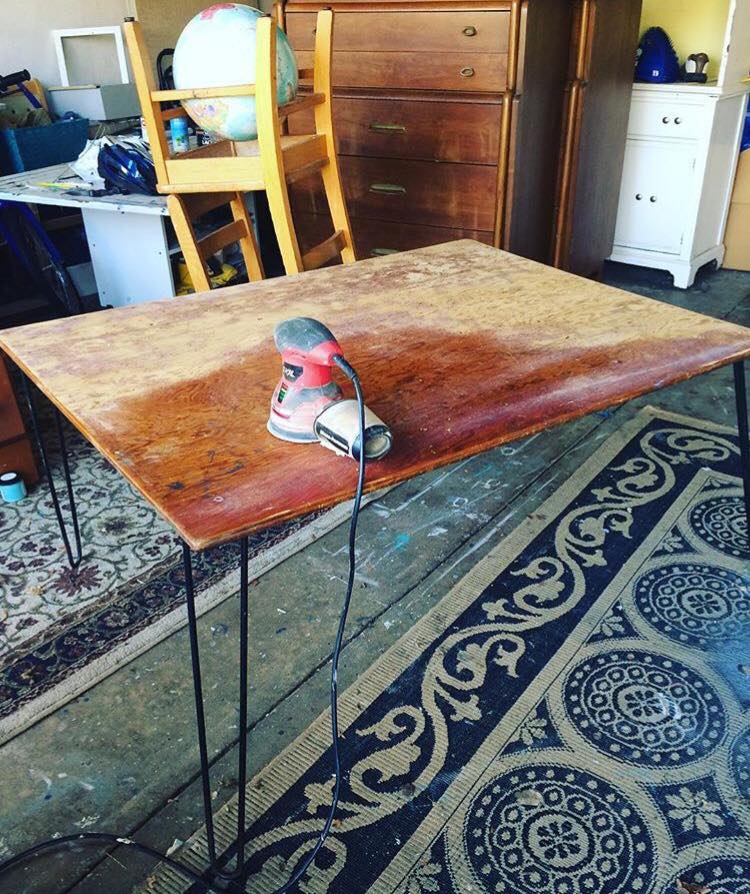
I surely wasn’t about to sand down the wood, stain it and eurathayne it. Ain’t nobody got time for that right now! So I decided to execute my vision of simply painting it black!
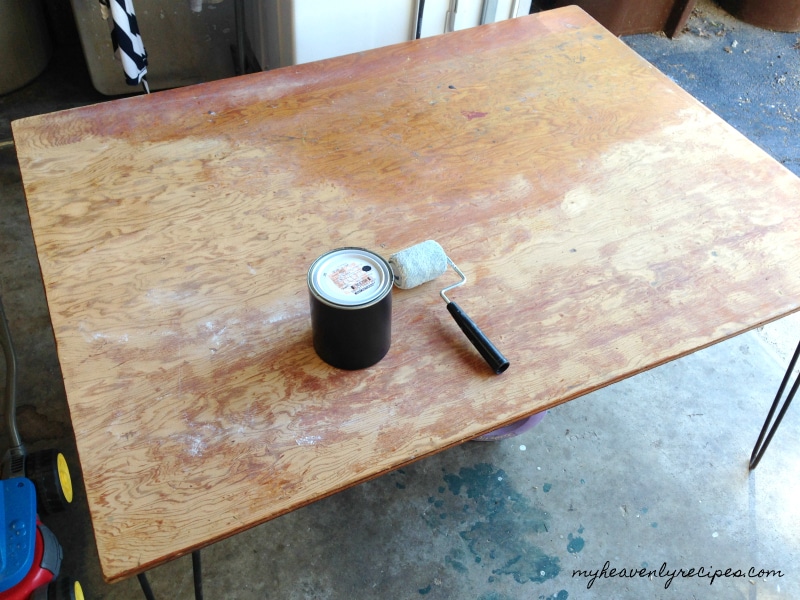
I went into our back room and found a can of flat black paint. I had actually used this on my Garage Doors (I’ll have that project for you soon!) so I had a TON of paint left over. I grabbed a roller and painted the entire table and the sides black.
Once the paint was dry I was just going to leave it and take it upstairs. But, while the paint was drying, the kids and I were upstairs doing crafts and I came across this Decou-Page Paper and thought it would look adorable on this table. So I grabbed my DecouPage and my brush and went back into the garage to get this project finished!
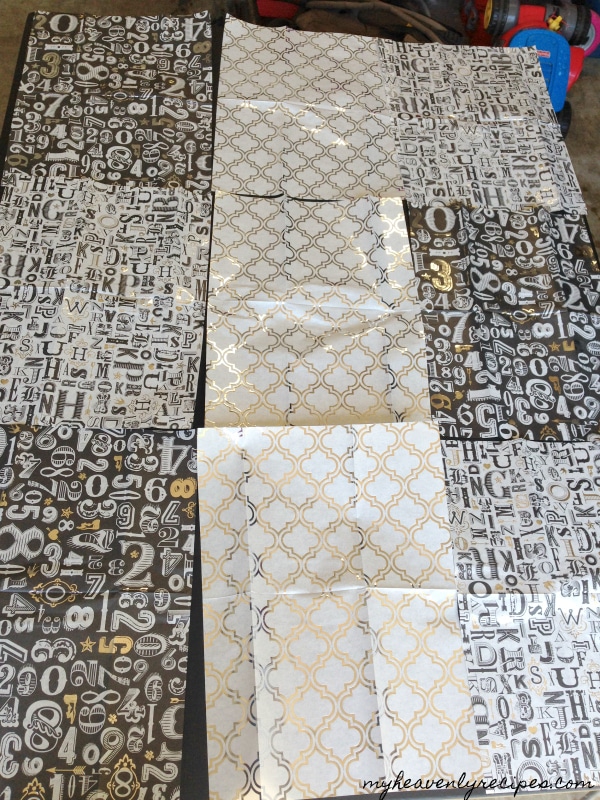
I had laid out all the paper first trying to figure out if I even had enough to cover the table. I was pleasantly surprised to see that I didn’t even need to trim any pieces of paper, it was like it was meant to be so I just ran with it.
Now I have used this same process on my Curio Cabinet and China Hutch therefore I already knew that I needed to work fast! I flipped the pieces over and went to town!
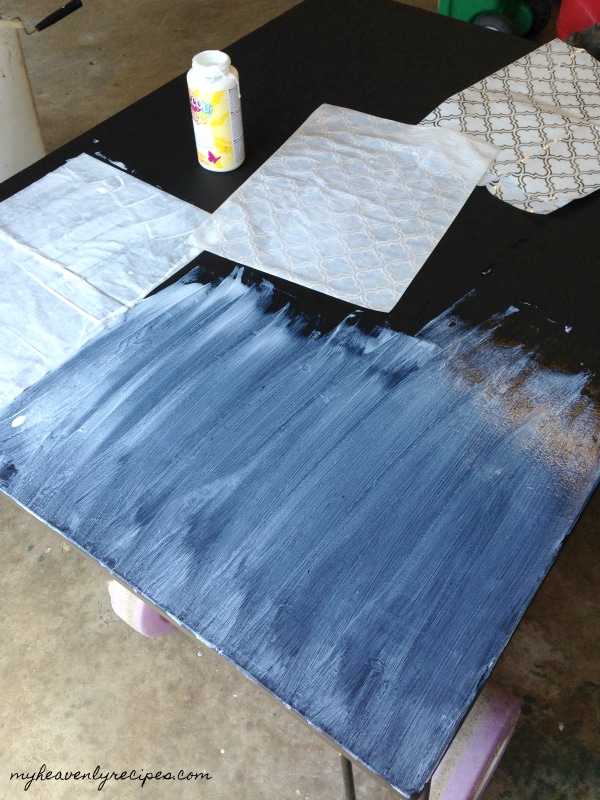
I put the decoupage on the table and the back of the paper. This allowed me to me to slide the paper around carefully without tearing it.
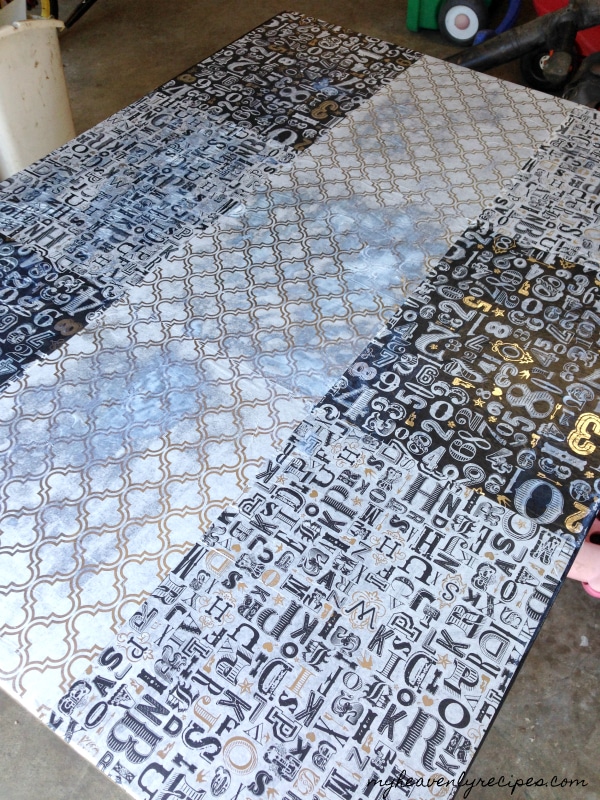
From start to finish the entire project took about 2 hours including dry time for the paint. I LOVE how it turned out and the kids do too! We use this table for playtime, eating with guests and it also comes in handy for when they are playing school! So Shannon, THANK YOU for my ugly table!
The kids have been using their new table to play school, play kitchen with their babies and they’ve even used it to eat dinner with when we had some friends over. So it has definitely came in handy!
