Snowy Chocolate Pinecones
This post may contain affiliate links. Please read our Disclosure Policy.
How to Make Chocolate Pinecones
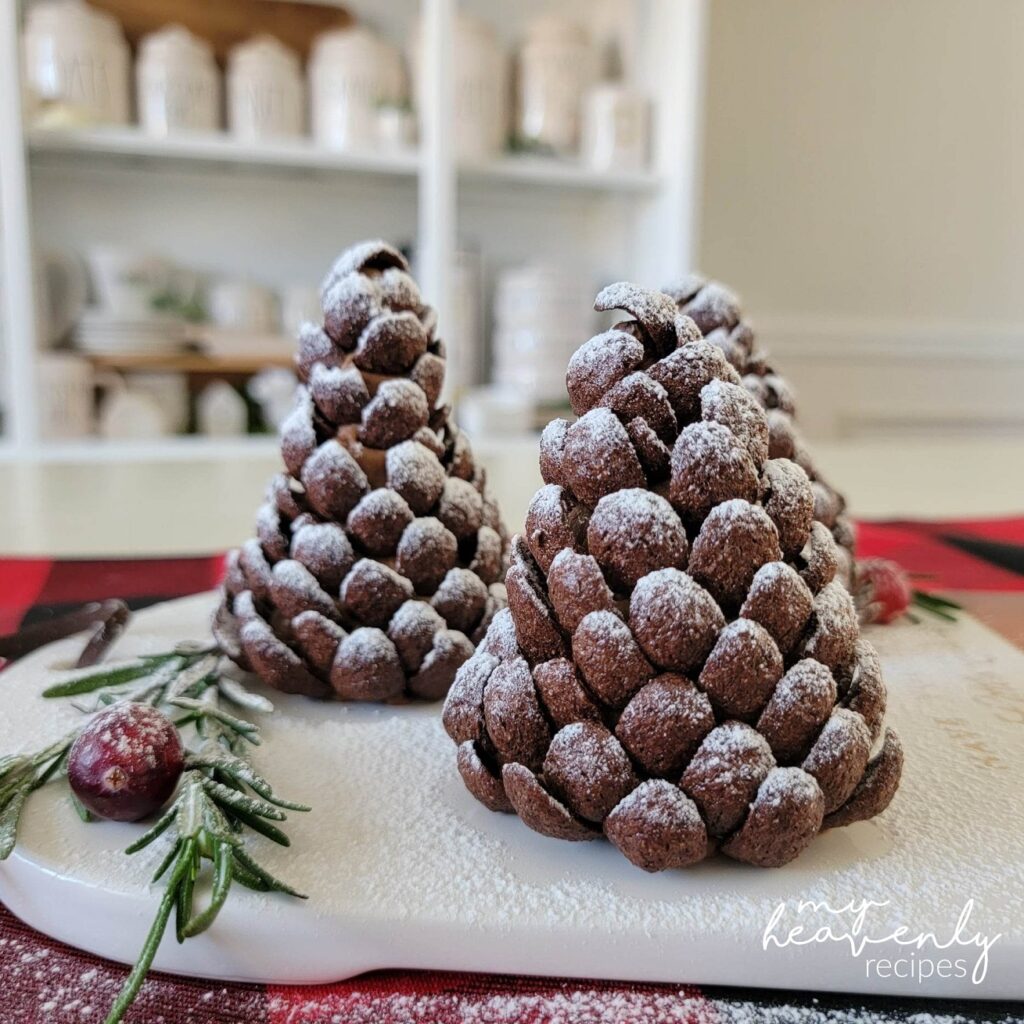
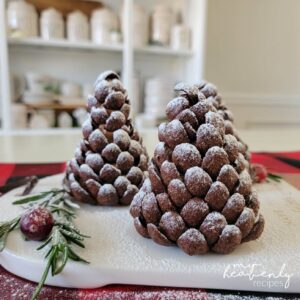
Make some beautiful chocolate pinecones for your holiday party! They taste just as good as they look! You can get the Nestle Chocapic Chocolate cereal on Amazon!
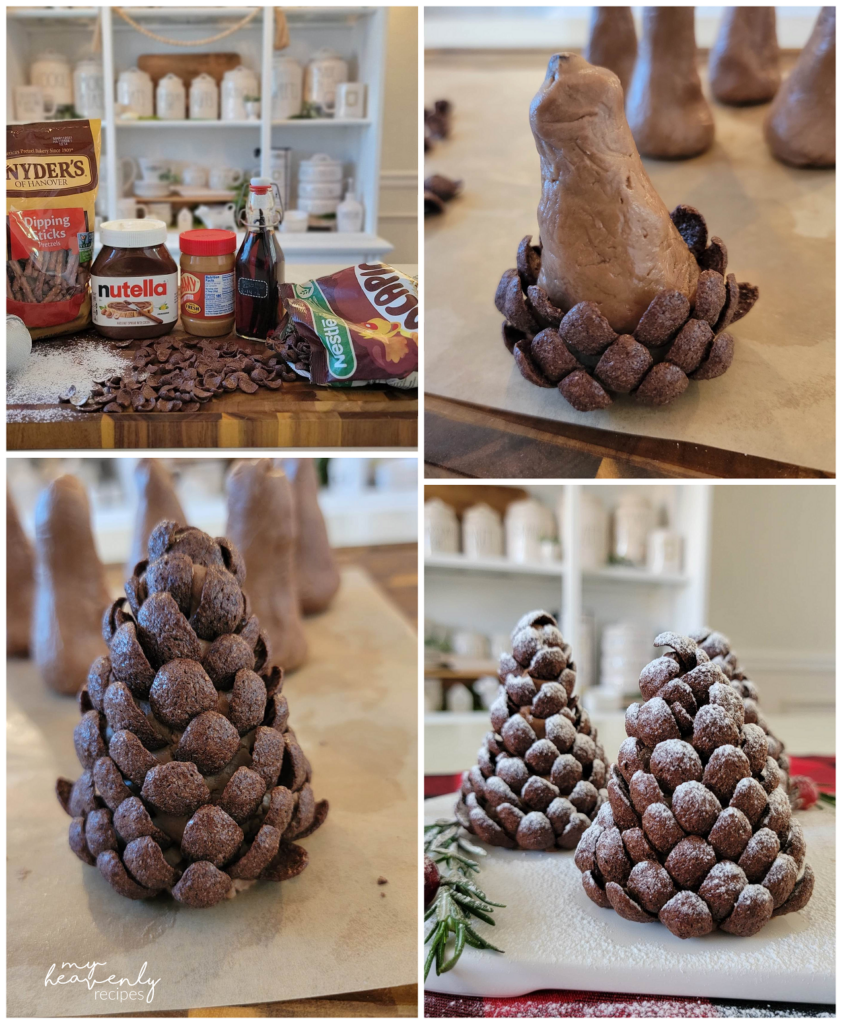
They look so realistic and the snowy topping just makes them so pretty!
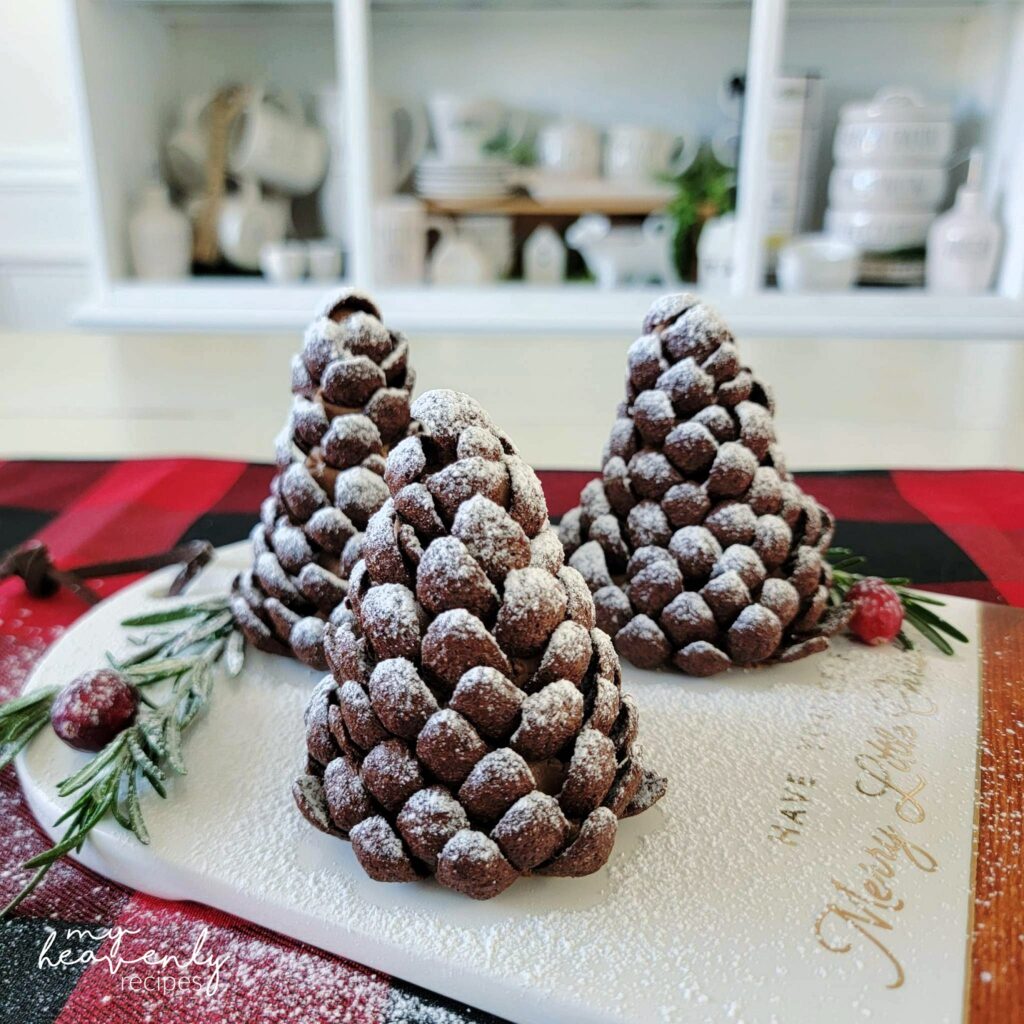
Snowy Chocolate Pinecones
Ingredients
- ¾ cup peanut butter
- ½ cup Nutella or chocolate spread
- 1.5 tsp vanilla extract
- 1 ¼ cups powdered sugar
- 3 cups Nestle Chocapic Cereal
- Can substitute chocolate cinnamon toast crunch or chocolate gold fish
- 6 Dipping Stick sized pretzels
Instructions
- In a mixing bowl, fold together peanut butter, Nutella, vanilla extract. Once combined, slowly add in powdered sugar a little at a time making sure to smooth any lumps or bumps. You should have a thick dough consistency.
- Divide mixture into 6 equal parts
- Using your hands, mold the individual sections into cone shapes. Once your happy with your form, insert 1 pretzel rod down the center. Be sure to cover the entire pretzel rod. This will be your pinecones support to hold its shape once complete.
- Line your tray or surface with parchment paper if you want an easy clean up or if you're storing for later use.
- Stand you cones on the parchment paper or your desired surface. Beginning at the bottom start to insert the cereal pieces going around your cone shape, moving towards the top. (I find it easier to place 2 at a time on opposite sides, pushing towards each other)
- Fill in most open space layer by layer until you reach the top. You may find it easier to break some pieces in half for the top layer. But there is no wrong way to create these!
- Once your Pinecones have their full forms, take additional powdered sugar and sprinkle over the top to give them a snowy look! 8)Accent with rosemary and cranberries for a festive feel.
Notes
These can be stored for up to 3 days in an airtight container– if serving later, add your dusting of snow just before you serve them.

