Carrot Rice Krispie Treats for Easter
This post may contain affiliate links. Please read our Disclosure Policy.

I’m always on the hunt for making the most creative easter rice krispie treats…we’ve made easter egg shapes, bunnies, but this year we made carrots! They turned out so adorable and are easy to make with the kiddos.
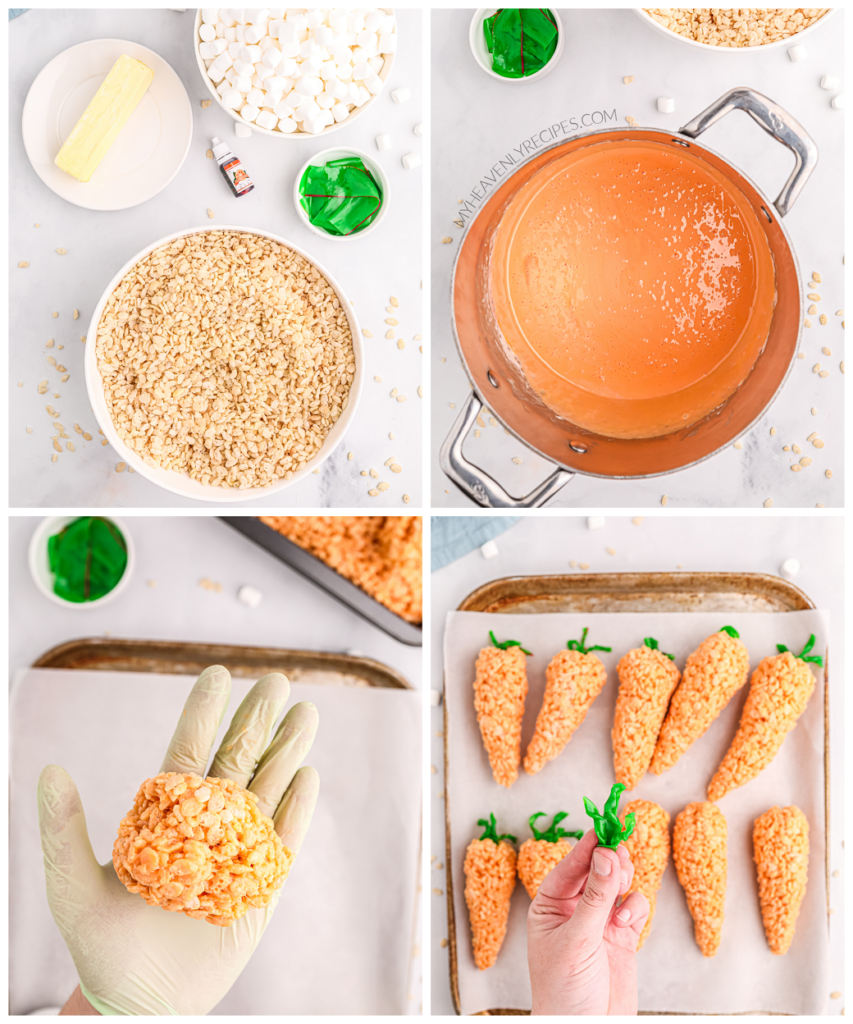
All you have to do is dye the rice krispies orange and shape them into carrots.
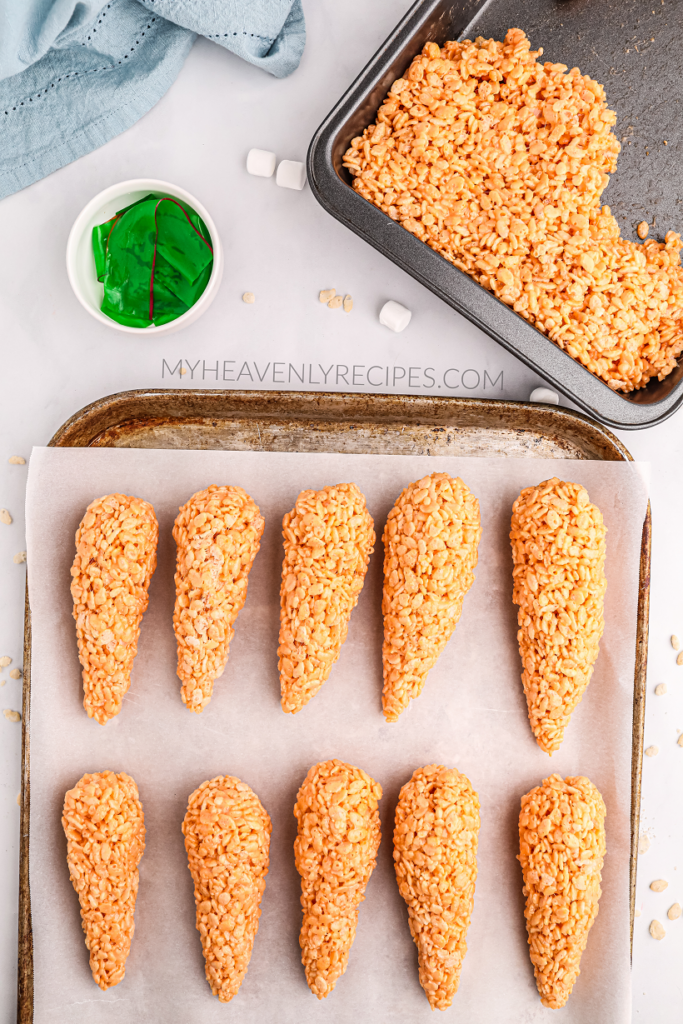
The kids and your Easter party guests will just love these!
Frequently Asked Questions:
- What will I need to complete this recipe?
- You will need the following ingredients:
- Butter
- Mini Marshmallows
- Rice Krispies Cereal
- Green Fruit Leather
- Orange Food Coloring
- You will need the following supplies:
- Large Saucepan
- Spoon or Spatula (to mix ingredients)
- Parchment or Wax Paper
- You will need the following ingredients:
- How do I store the Carrot Rice Krispies Treats?
- You can store the Carrot Rice Krispies Treats at room temperature for 3-5 days. I recommend storing it in an airtight container to make sure they stay soft and gooey!
- What if I don’t have orange food dye?
- Not to worry! You can always make orange food dye by combining drops of red and yellow food dye to get your desired shade of orange. Don’t be afraid to be creative!
- Green Fruit Leather?!
- Haha, yes, green fruit leather. I found fruit roll-ups that had sections of green and I just cut the sections that I needed in order to make the green stalks of the carrot for the Rice Krispies treats.
Carrot Rice Krispie Treats
Servings 16
Ingredients
- 8 tablespoons 1 stick of butter
- 2 10-ounce bags of mini marshmallows
- 1 12-ounce box of Rice Krispies cereal
- Green Fruit Leather
- Orange Food Coloring
Instructions
- Melt the butter in a large saucepan over low heat.
- Add the mini marshmallows and stir continuously until completely melted.
- Place a few drops of food coloring in the melted marshmallows and stir, adding more food coloring until you reach your desired shade.
- Add the Rice Krispies cereal, making sure to evenly coat all of the cereal with the melted marshmallow mix.
- Allow the Rice Krispies to cool for about 15 minutes (I usually transfer them to a 9×13 baking pan, it takes longer for them to cool if they remain in the warm saucepan).
- Carefully shape sections of the Rice Krispies treats into carrot shapes. I usually use about a cup of the treat mix per carrot.
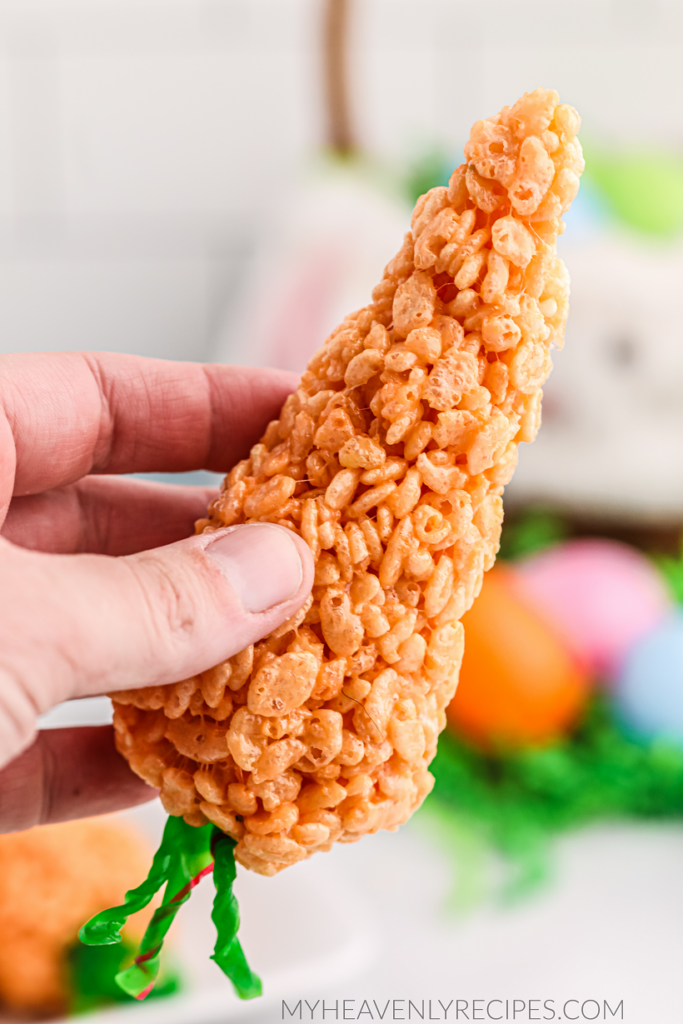
- Roll and twist pieces of the fruit leather to create the green stalk of the carrot. Carefully place on top of the Rice Krispies carrot (sometimes I find it easier to sort of smush the Rice Krispies up around the fruit leather to hold it in place).
- Place the finished Rice Krispies treats on a baking sheet lined with parchment or wax paper and cover with plastic wrap until ready to serve.
- Enjoy!

