Bunny Cake for Easter Dessert + Video
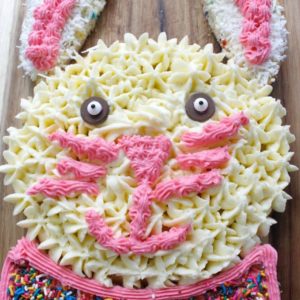
This bunny cake is a fun and kid-friendly Easter activity! Kids will love making and decorating the Easter bunny on their cute Easter cake.

I absolutely love kid-friendly baking projects! My kids and I have so much fun in the kitchen with these because my ultimate goal is to just have the best time and not stress over the “perfect” outcome. This Easter Bunny Cake is a family tradition of ours and now it’s time for me to share it with you!
It’s such a simple cake and that’s part of the fun. It’s just a boxed cake mix, Funfetti sprinkles, and my Homemade Whipped Icing recipe. That’s it! When you make this Easter Bunny Cake, you won’t have to stress over a complicated baking process — you and your kids (or grandkids, nieces and nephews, etc.) can focus on assembling and decorating this fun cake.
Bunny Cake Step by Step Tutorial
Step #1: PREHEAT oven to 325 degrees F.
Step #2: In a large bowl mix your cake mix together.
Step #3: Gently stir the sprinkles into the mix.
Step #4: Spray two round 8” pans with no-stick baking spray (the kind that has flour in it).
Step #5: Evenly distribute the cake mix into the two cake pans – one cake will become the face and the other cake will be cut for the two ear pieces and a bow tie!
Step #6: Bake for 18-22 minutes. You’ll be able to stick a fork or toothpick in the middle of the cake and it will come out clean if baked completely.
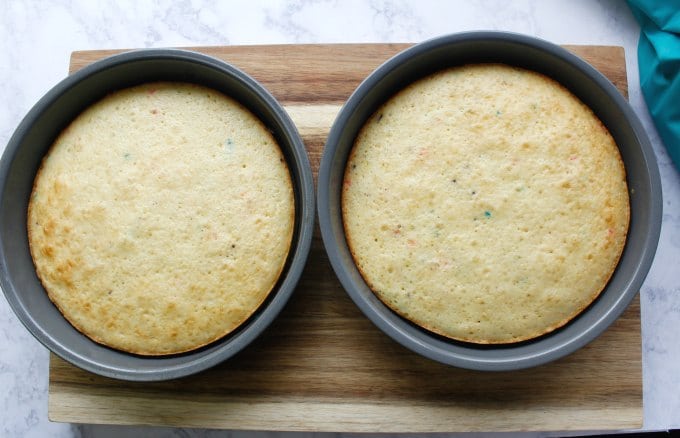
Step #7: Allow the cakes to cool, then flip the cakes over on a solid surface and even up the cakes.
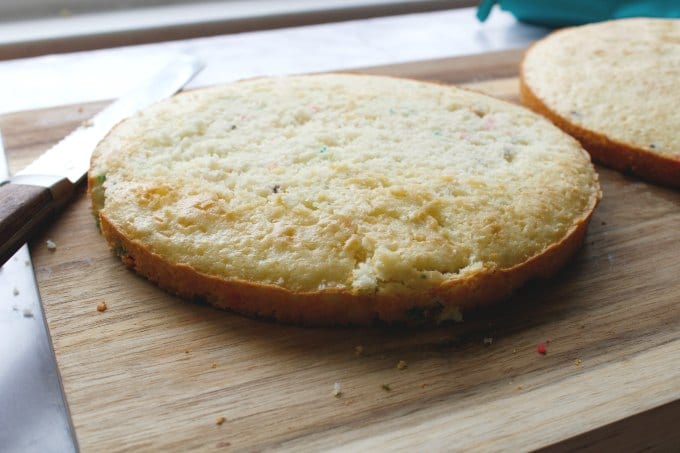
Step #8: Using a sharp knife cut out an ear from the side of the cake, flip that ear to the opposite side of the cake and trace. The middle piece that is left, will become the bow tie!
Step #9: Next, using a piping tip, create the bunny’s face with white icing.
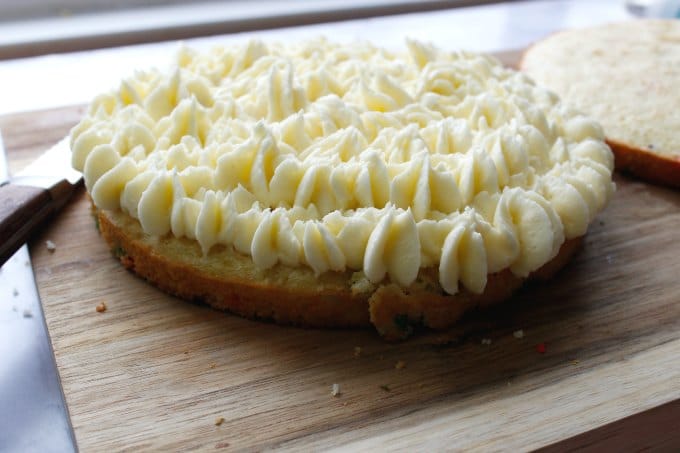
Step #10: Decorate the ears and the bow tie (the bow tie gets sprinkles!). For the pink icing, just mix the icing with some pink food coloring.
Here are the ears…
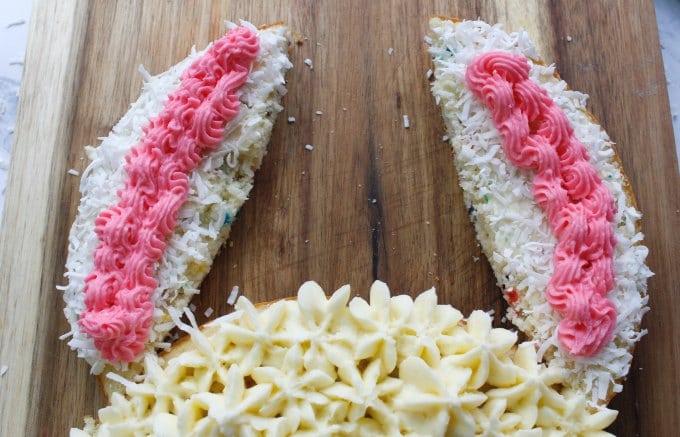
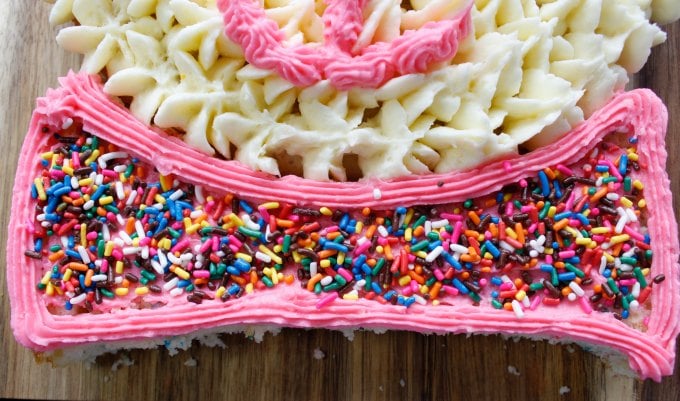
… and here is the bow tie!
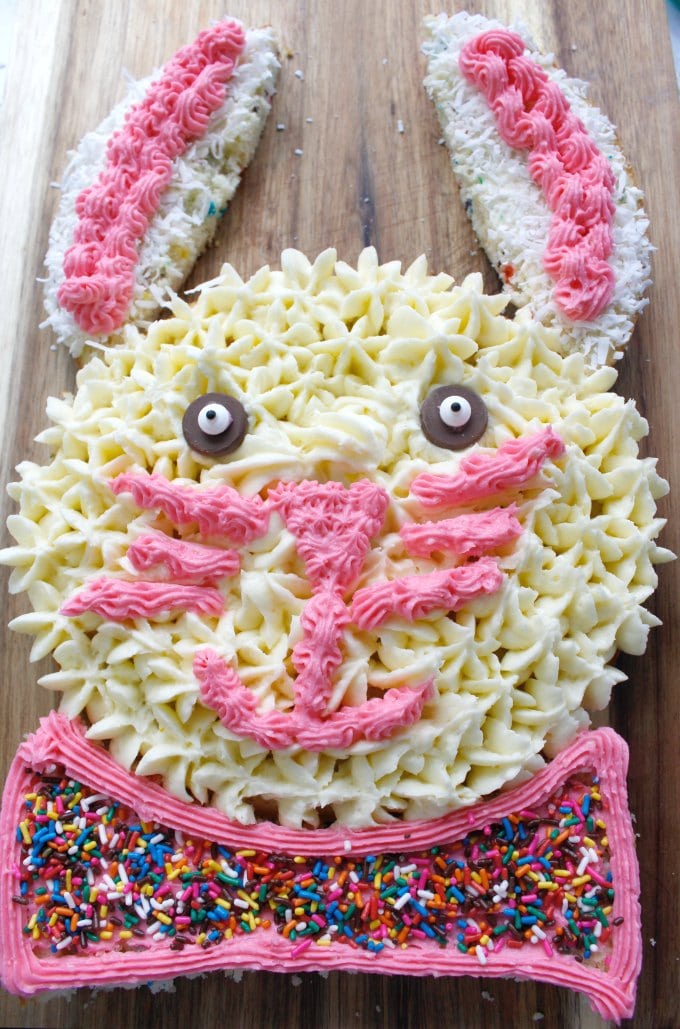
Here’s what my kids and I came up with this year. The kids always fight over who gets to eat the ears!
Why bake the Easter bunny cake at 325 degrees?
In this recipe, you’ll bake your boxed cake mix at 325 degrees. Why? Well, science! 😉
By cooking it at a lower temperature, you’ll get a moister cake. Most cake mixes tell you to cook at 350 degrees if you’re using a metal or glass pan or 325 degrees for a coated or dark pan, but with this Easter Bunny Cake, you’re just going to cook at 325 degrees no matter what.
More Fun Easter Recipes
When you’re done making this Easter Bunny Cake, try a few of these:
- Chocolate Easter Cupcakes with Carrots
- Easter Rice Krispies Eggs
- Easter Popcorn (Fun Popcorn Recipe)
Have a great Easter and enjoy your time with the family. This is one of those Easter recipes that I hope will become a tradition in your family as it has with mine!
Easter Bunny Cake
Ingredients
- Boxed White Cake Mix made according to directions
- ¼ C Funfetti Sprinkles
- ½ C Homemade Whipped Icing Recipe (½ c of which will be mixed with pink food coloring)
Instructions
- PREHEAT oven to 325 degrees.
- In a large bowl mix your cake mix together.
- Gently stir the sprinkles into the mix.
- Spray two round 8” pans with no stick baking spray (the kind that has flour in it).
- Evenly distribute the cake mix into the two cake pans - one cake will become the face and the other cake will be cut for the two ear pieces and a bow tie!
- Bake for 18-22 minutes.
- You’ll be able to stick a fork or toothpick in the middle of the cake and it will come out clean if baked completely.
- Allow to cool.
- Flip the cakes over on a solid surface and even up the cakes.
- Using a sharp knife cut out an ear from the side of the cake, flip that ear to the opposite side of the cake and trace. The middle piece that is left, will become the bow tie!
- Next, using a piping tip, create the bunny's face with white icing.
- Decorate the ears and the bowtie.

