Farmhouse Inspired Dining Table Makeover
A dining table makeover can bring new life to your old dining room table. I’ll show you how to transform a dining table yourself. It’s an affordable DIY project.
I had originally wanted to build my own farmhouse table and then life happened and I just couldn’t physically do it. Ultimately, I decided to keep this tired old worn out table because it truly has sentimental value to me. I just couldn’t bring myself to “get rid of it”.
So I decided to reach big and do my own farmhouse-inspired dining table makeover with what I had and I’m so glad that I did. The results are better than anything I could’ve ever imagined! Come take a look and get inspired to recreate this with your current dining room table!
I love to see what you are creating in your homes! Be sure to share your projects with me on Facebook, Twitter, and Pinterest.
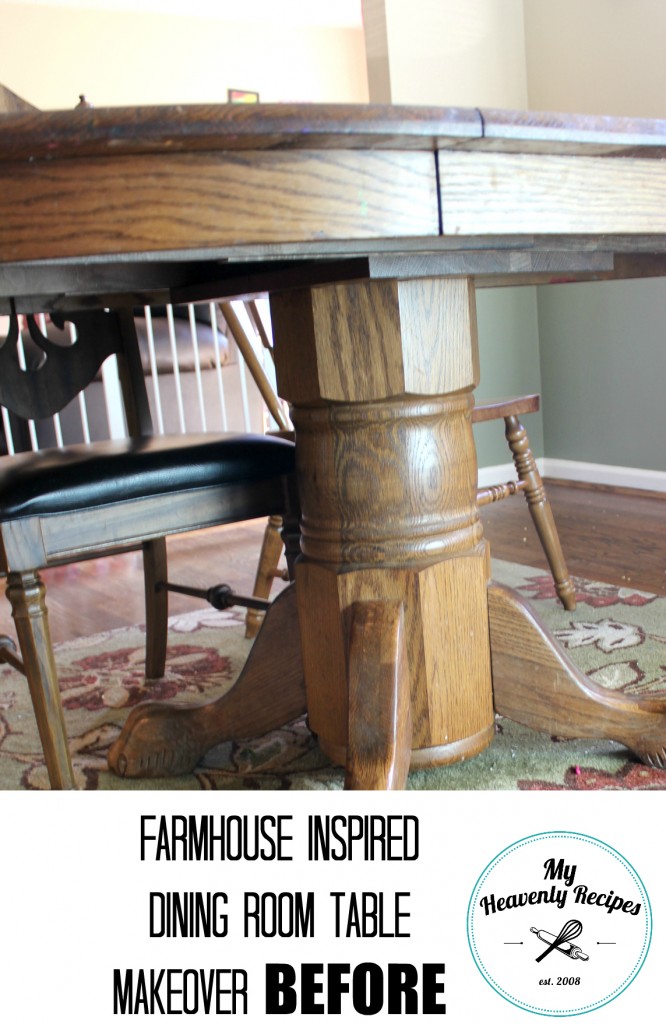
I hate to admit it, but, this is my former dining room table. It was worn, stained, tired, boring, OAK. I was simply at the point where I no longer wanted to eat on it for fear of the nastiness that it had become. Now I know it’s my fault and all, but, damn there’s just not enough time in a day — however, I’m now making time!
I feel like as I am coming into my 30’s I’m finding my sense of style both personally and in our home. I love the whole romantic, rustic, shabby chic thing. Not to mention I have antique pieces in our home that I LOVE and trying to decorate around.
This dining table was one my Dad bought for my Mom for their 10 year wedding anniversary. I inherited it when we bought our first home and I was sad to receive it, as my parents had divorced after nearly 25 years of marriage. Through the years, I had let it go because my life was busy with having children and selling our first home and eventually purchasing my Husband’s childhood home from his Mom. For two years now, I’ve wanted to do this dining table makeover, and I’m so glad it’s done because it’s beautiful! Now I have an excuse to host dinner parties again!
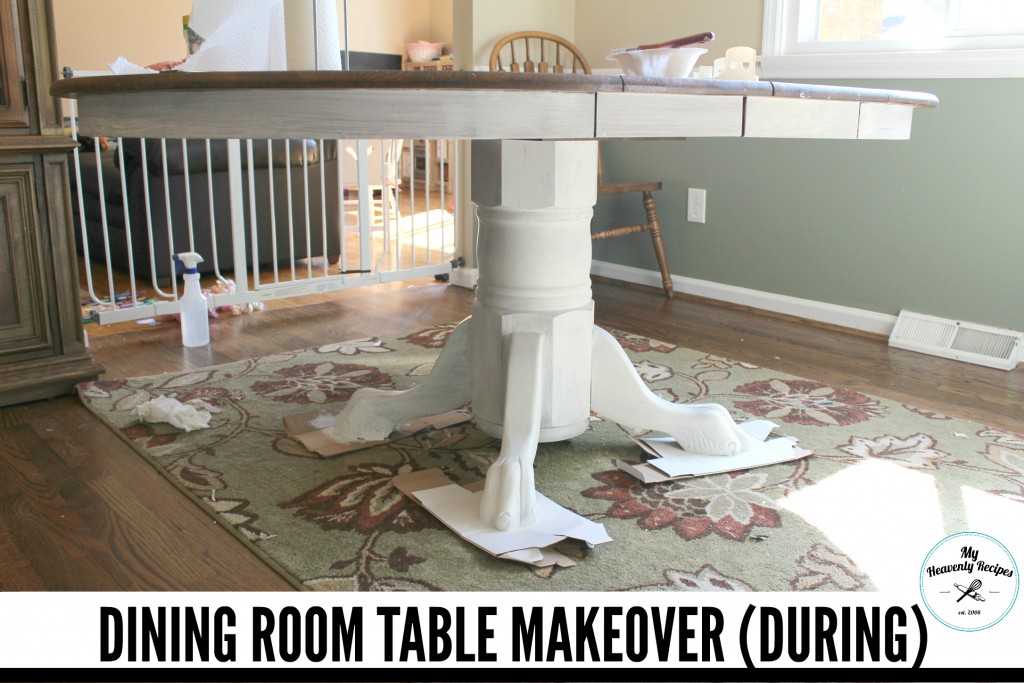
This dining table makeover took just three days time {over the course of months}. Now keep in mind, I was in a cast during this time and eventually had surgery, I did it all while injured people so I don’t want to hear an excuse. While I was in the cast on my left foot, I sat on the ground and completed the bottom portion of the table.
Dining Table Makeover Details
- You will need to clean the surface well and let it dry completely.
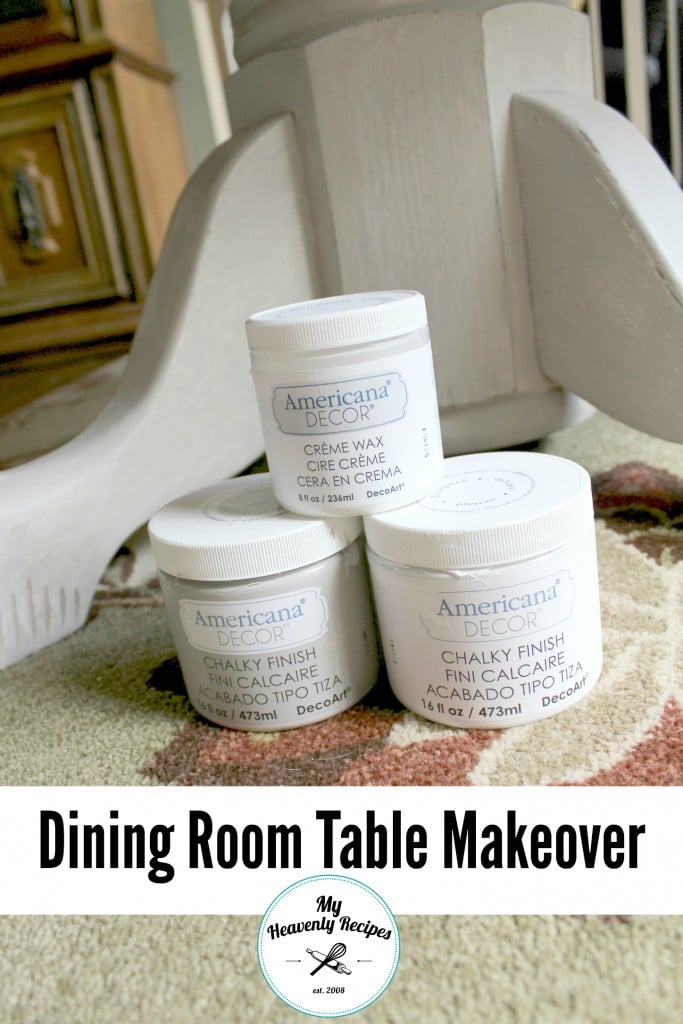
- Next, mix up a tablespoon or two of water along with about a ¼ cup of Americana Decor Chalky Finish in Everlasting. Apply one coat to the base of the table with a hand brush, getting into the cracks of the table. Once it’s dry, go over the Everlasting with Primitive. You can water down the Primitive shade a bit more for a “washed out” kinda look.
- Next, take 220 grit sandpaper to rough up the edges a bit. Lightly wipe the dust off and seal the bottom of the table with Americana Decor Creme Wax.
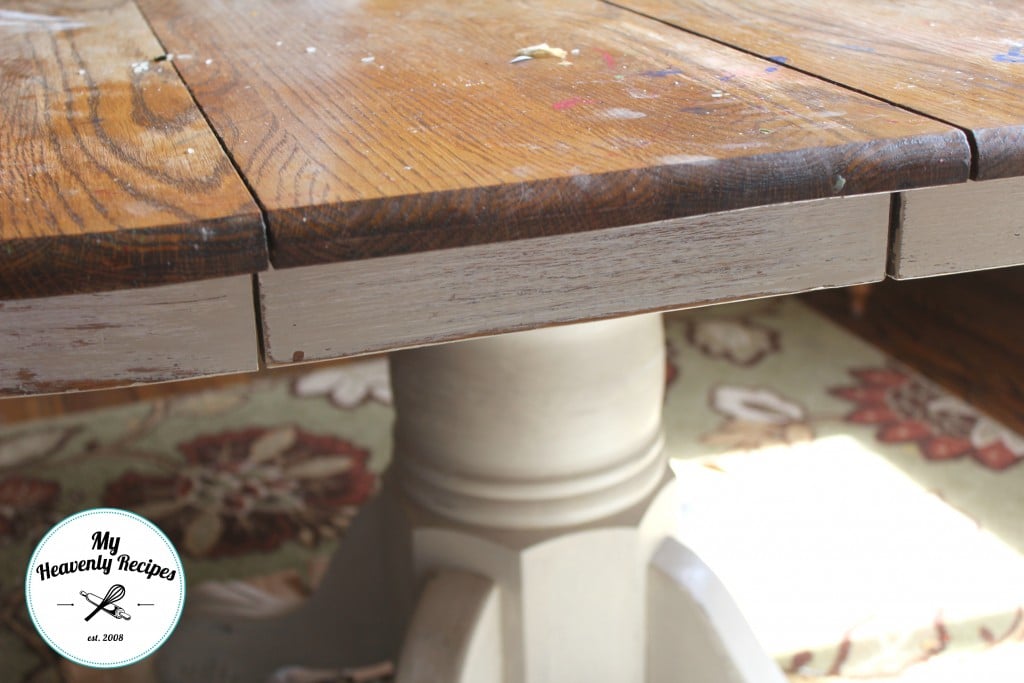
After the bottom of the table was complete I HAD to get my hands on the top of this table. I went and grabbed the sander along with the sandpaper and it sucked…it wouldn’t sand. I was distraught and gave up for a few weeks as I headed into surgery. As I sat around the house 24/7, trying to recover from this surgery, I was, quite honestly, beginning to go crazy. Christmas came and I needed to do something, as I was beginning to feel less than. I wasn’t contributing in any manner other than taking care of the littles every day.
I strongly suggest putting the table in a garage to sand and stain…
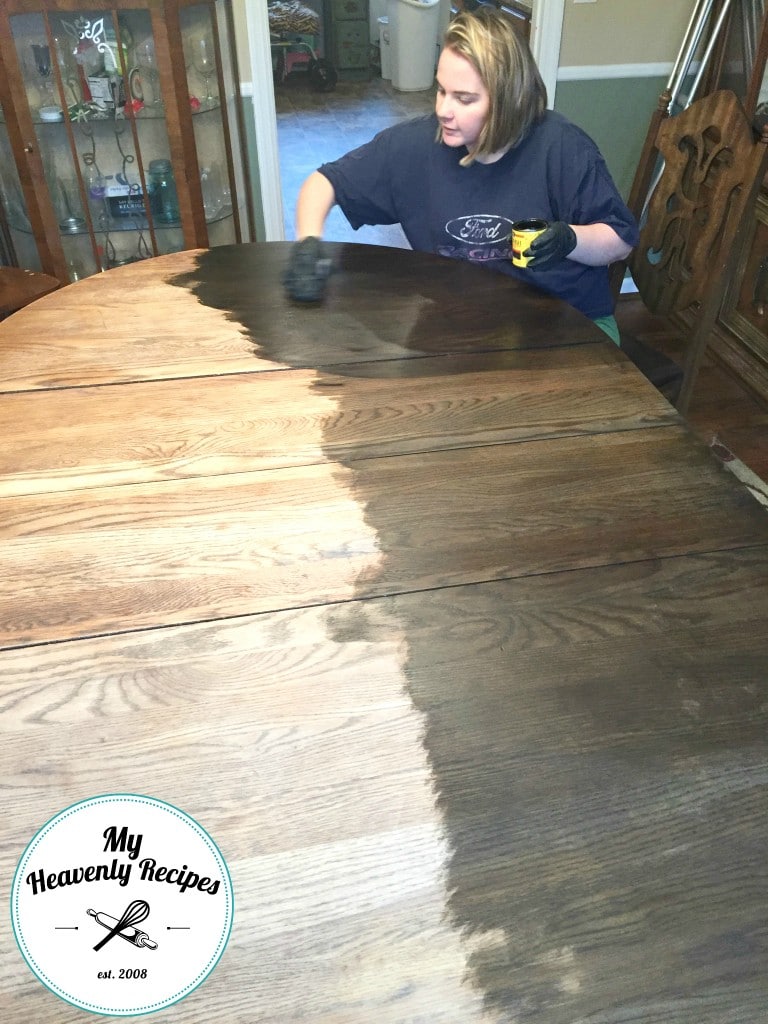
What would any couple in their right mind do the day after Christmas?!? That’s right — we opened up the windows and got to sanding, staining, and applying urethane! We SHOULDN’T have sanded the table inside the house, but, it was 70 degrees and rainy. I couldn’t help take the table outside and it was raining ya’ll. Momma needed to get the job done! So we sanded the table inside and it really wasn’t that bad. We had the shop vac running to grab any loose stuff and actually got a great result considering!
The Hubby helped me sand half the table and then I was on my own for the rest. I sat down in the chair and became a boss….
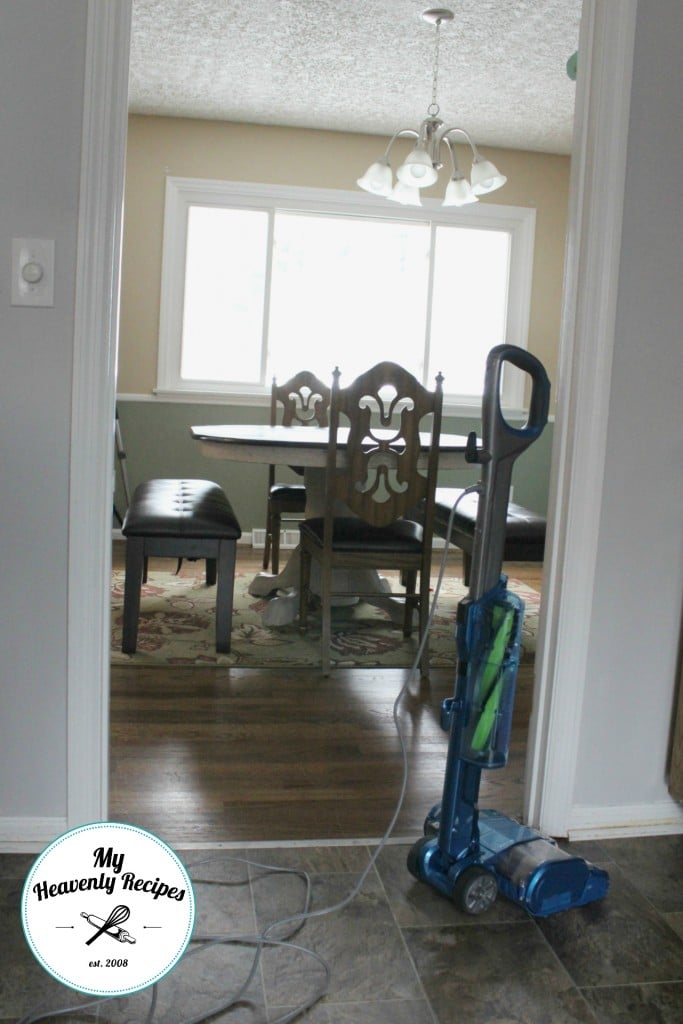
As I was getting ready to shoot the following images I had to sweep the floors. I just wanted to keep it real for ya’ll. We are a real family just like you! Ours is probably just a bit crazier! So I just wanted to let ya’ll know my house is hardly ever this clean, there are usually crafts all over my buffet and typically cars ALL.OVER.THE.FLOOR. But they’ve been cleaned up for fear that I’m newly walking and I’ll trip and kill myself.
Oh, you should see the sideboard buffet makeover project – it came after this dining table makeover.
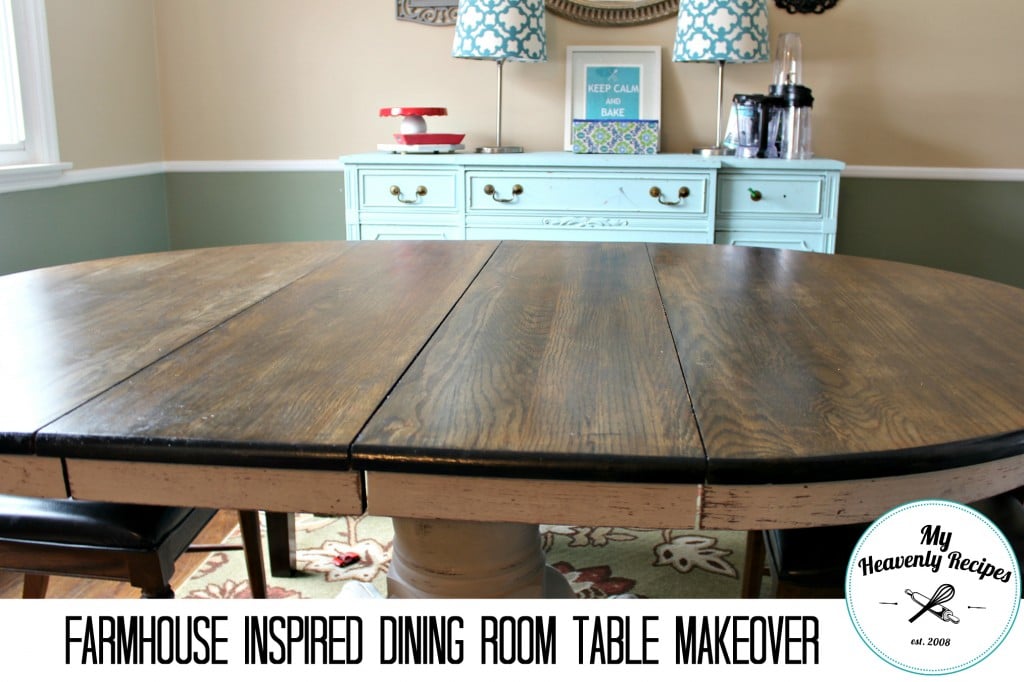
I ended up applying a Mixwax Espresso Stain on the top of the table, wanting it to be super dark (you know to avoid any nastiness that may be seen!). We LOVE LOVE LOVE it!
When I began applying, I was nervous that it might be too dark, but, I don’t think you can have too dark of a stain. Coming from a house that was ALL golden oak, I’ll take an Espresso stain any day!
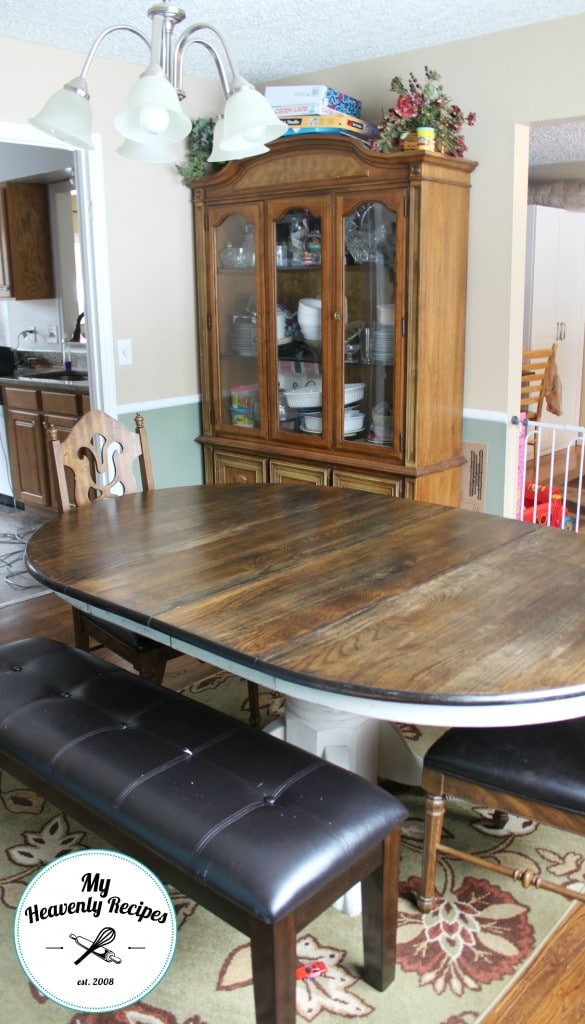
Apparently, one of the littles climbed up on the stool and decided to eat in between shots, wiping things down making it pretty for ya’ll and what not! The hutch makeover is next AND I need to decide on a much larger rug for the dining room table, bench and chairs to sit on. So if you have any suggestions let me know.
This dining room will also be receiving a fresh coat of paint come this spring and would love your input on color choice as well. I’m thinking of doing the same color of gray that I did in the kitchen. Jason doesn’t like that idea, but, he’s not the one who has to live with it, nor paint it!

Dining Table Makeover – Final Cost
The total cost of this project breaks down like this:
2 Ashley Furniture Benches, $232.17
8 oz. Americana Decor Chalky Finish, Primitive, $8.90
8 oz. Americana Decor Chalky Finish, Everlasting, $8.90
Minwax Stain, Espresso, $13.49
Total Spent: $263.46
I also had a lot of the Chalky Finish left over. I used the leftover Everlasting for the Fireplace Makeover!
